
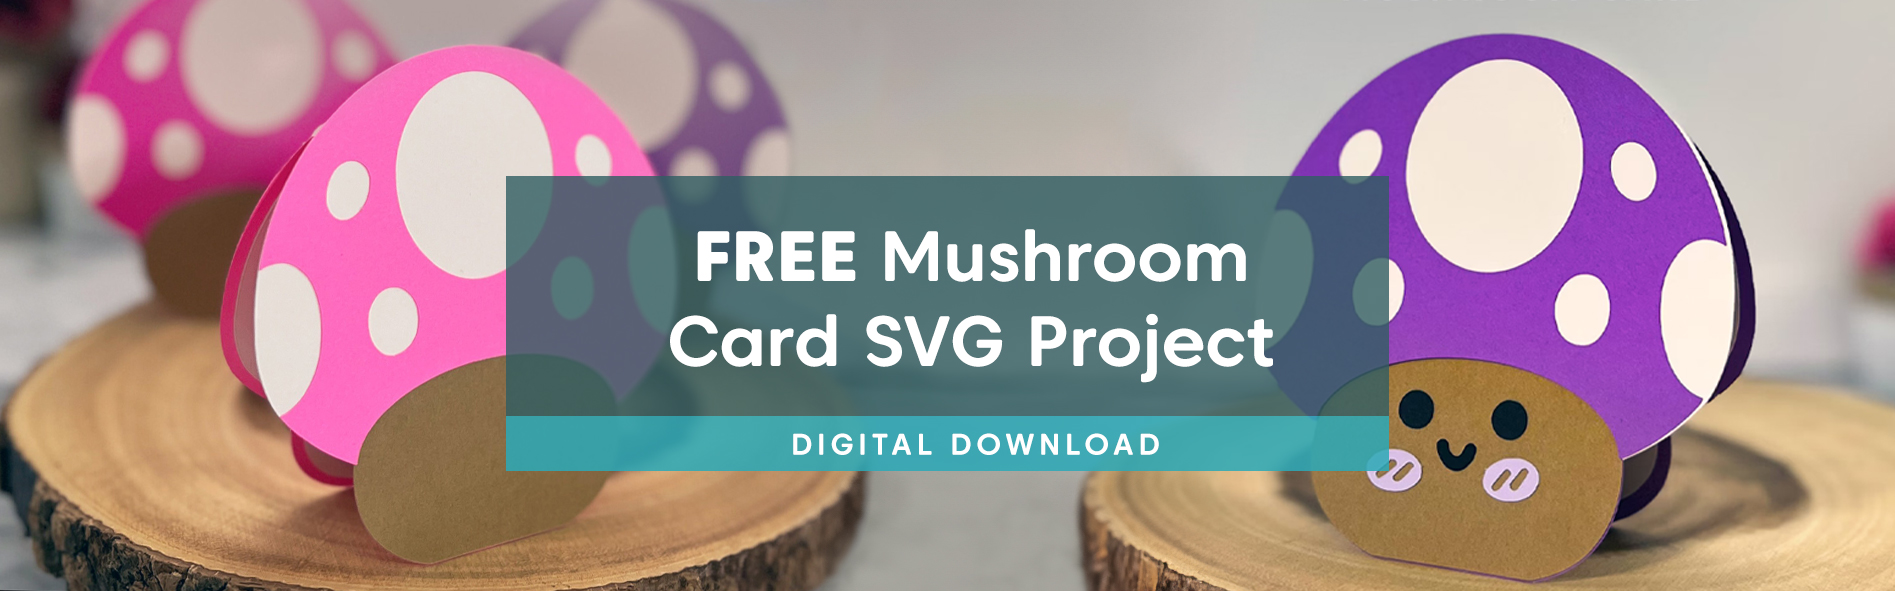
Welcome to a fun and creative crafting adventure! We’re thrilled to share this Free Mushroom Greeting Card SVG Project — a delightful template designed to help you craft a charming mushroom-shaped greeting card. Whether you’re creating a cheerful note for a birthday, a thank-you card, or just sending a whimsical hello, this card is perfect for any occasion.
Our Free Mushroom Greeting Card SVG Project is designed specifically for cutting machines like Cricut, Silhouette, and other similar devices. This project is simple enough for beginners but offers plenty of room for experienced crafters to customize and enhance. To make your crafting journey as smooth as possible, we’ll take you through everything you need to know—from downloading your digital file to putting your creation together.
Materials Needed
- 67lb – 110lb cardstock:
- For the best results, use 110lb cardstock for the foldable base layer for added sturdiness.
- Use 67lb cardstock for the detailed elements for a clean and professional look. Any combination will work great, so feel free to experiment!
- Paper glue: A fast-drying glue with a fine tip works best for precision.
- This template: Download the project files here

Downloading and Unzipping Your Files
This download comes in a ZIP folder, bundling all the necessary files into a single, easy-to-manage package. Inside, you’ll find multiple formats, including SVG, PDF, and PNG, designed to work seamlessly with a variety of crafting tools and machines. ZIP folders are a practical way to keep everything organized and ensure you have all the files you need for your project.
To get started, you’ll first need to locate and unzip your file. After downloading, you’ll usually find the ZIP folder in your device’s Downloads folder or wherever you typically save files. From there, follow the instructions below based on your device to extract the files:
- Mac: Open your Downloads folder, locate the ZIP file, and double-click to extract its contents into a new folder. If the file doesn’t open, make sure you have enough storage space available.
- Windows: Right-click the ZIP file, select Extract All…, and follow the prompts. To extract a single file, open the ZIP folder and drag the desired item to a new location.
- iPhone/iPad: Open the Files app and locate the ZIP file. Tap on the file to automatically create a new folder with the extracted contents.
- Android/Google Devices: Use the Files by Google app to locate the ZIP file. Tap Extract, preview the contents, and then tap Done to save them to the same folder as the original ZIP file.
Once unzipped, you’ll find several file types ready for your crafting needs. Each format is carefully included to ensure compatibility with your preferred crafting tools. For this project, the SVG file will be your go-to for cutting machines like Cricut or Silhouette.
Working with Score Lines: Solid vs. Dashed

You’ll notice two file options in your download: one with solid score lines and another with dashed score lines. These options are designed to accommodate various cutting machines and preferences. Here’s how to choose the right one for your setup:
-
For Machines with Scoring Tools:
- Use the files labeled “Solid Score.”
- Upload the SVG or your preferred file type.
- Set any red lines to SCORE (in Cricut, these may appear black but will show as red when selected).
- Don’t forget to attach your layers before cutting!
-
For Machines without Scoring Tools (or if you prefer dashed lines):
- Use the files labeled “Dashed Score.”
- Upload the SVG or your preferred file type.
- The score lines in these files are already attached, so you can begin creating right away.
If you’re unsure which file to use, we recommend choosing the “Dashed Score” files. They are more universally compatible and work well with a wider range of machines. For a quick overview, check out our helpful 2-minute video here. By tailoring the files to your machine’s capabilities, you’ll ensure smooth cutting and assembly.
Uploading the SVG to Your Cutting Software
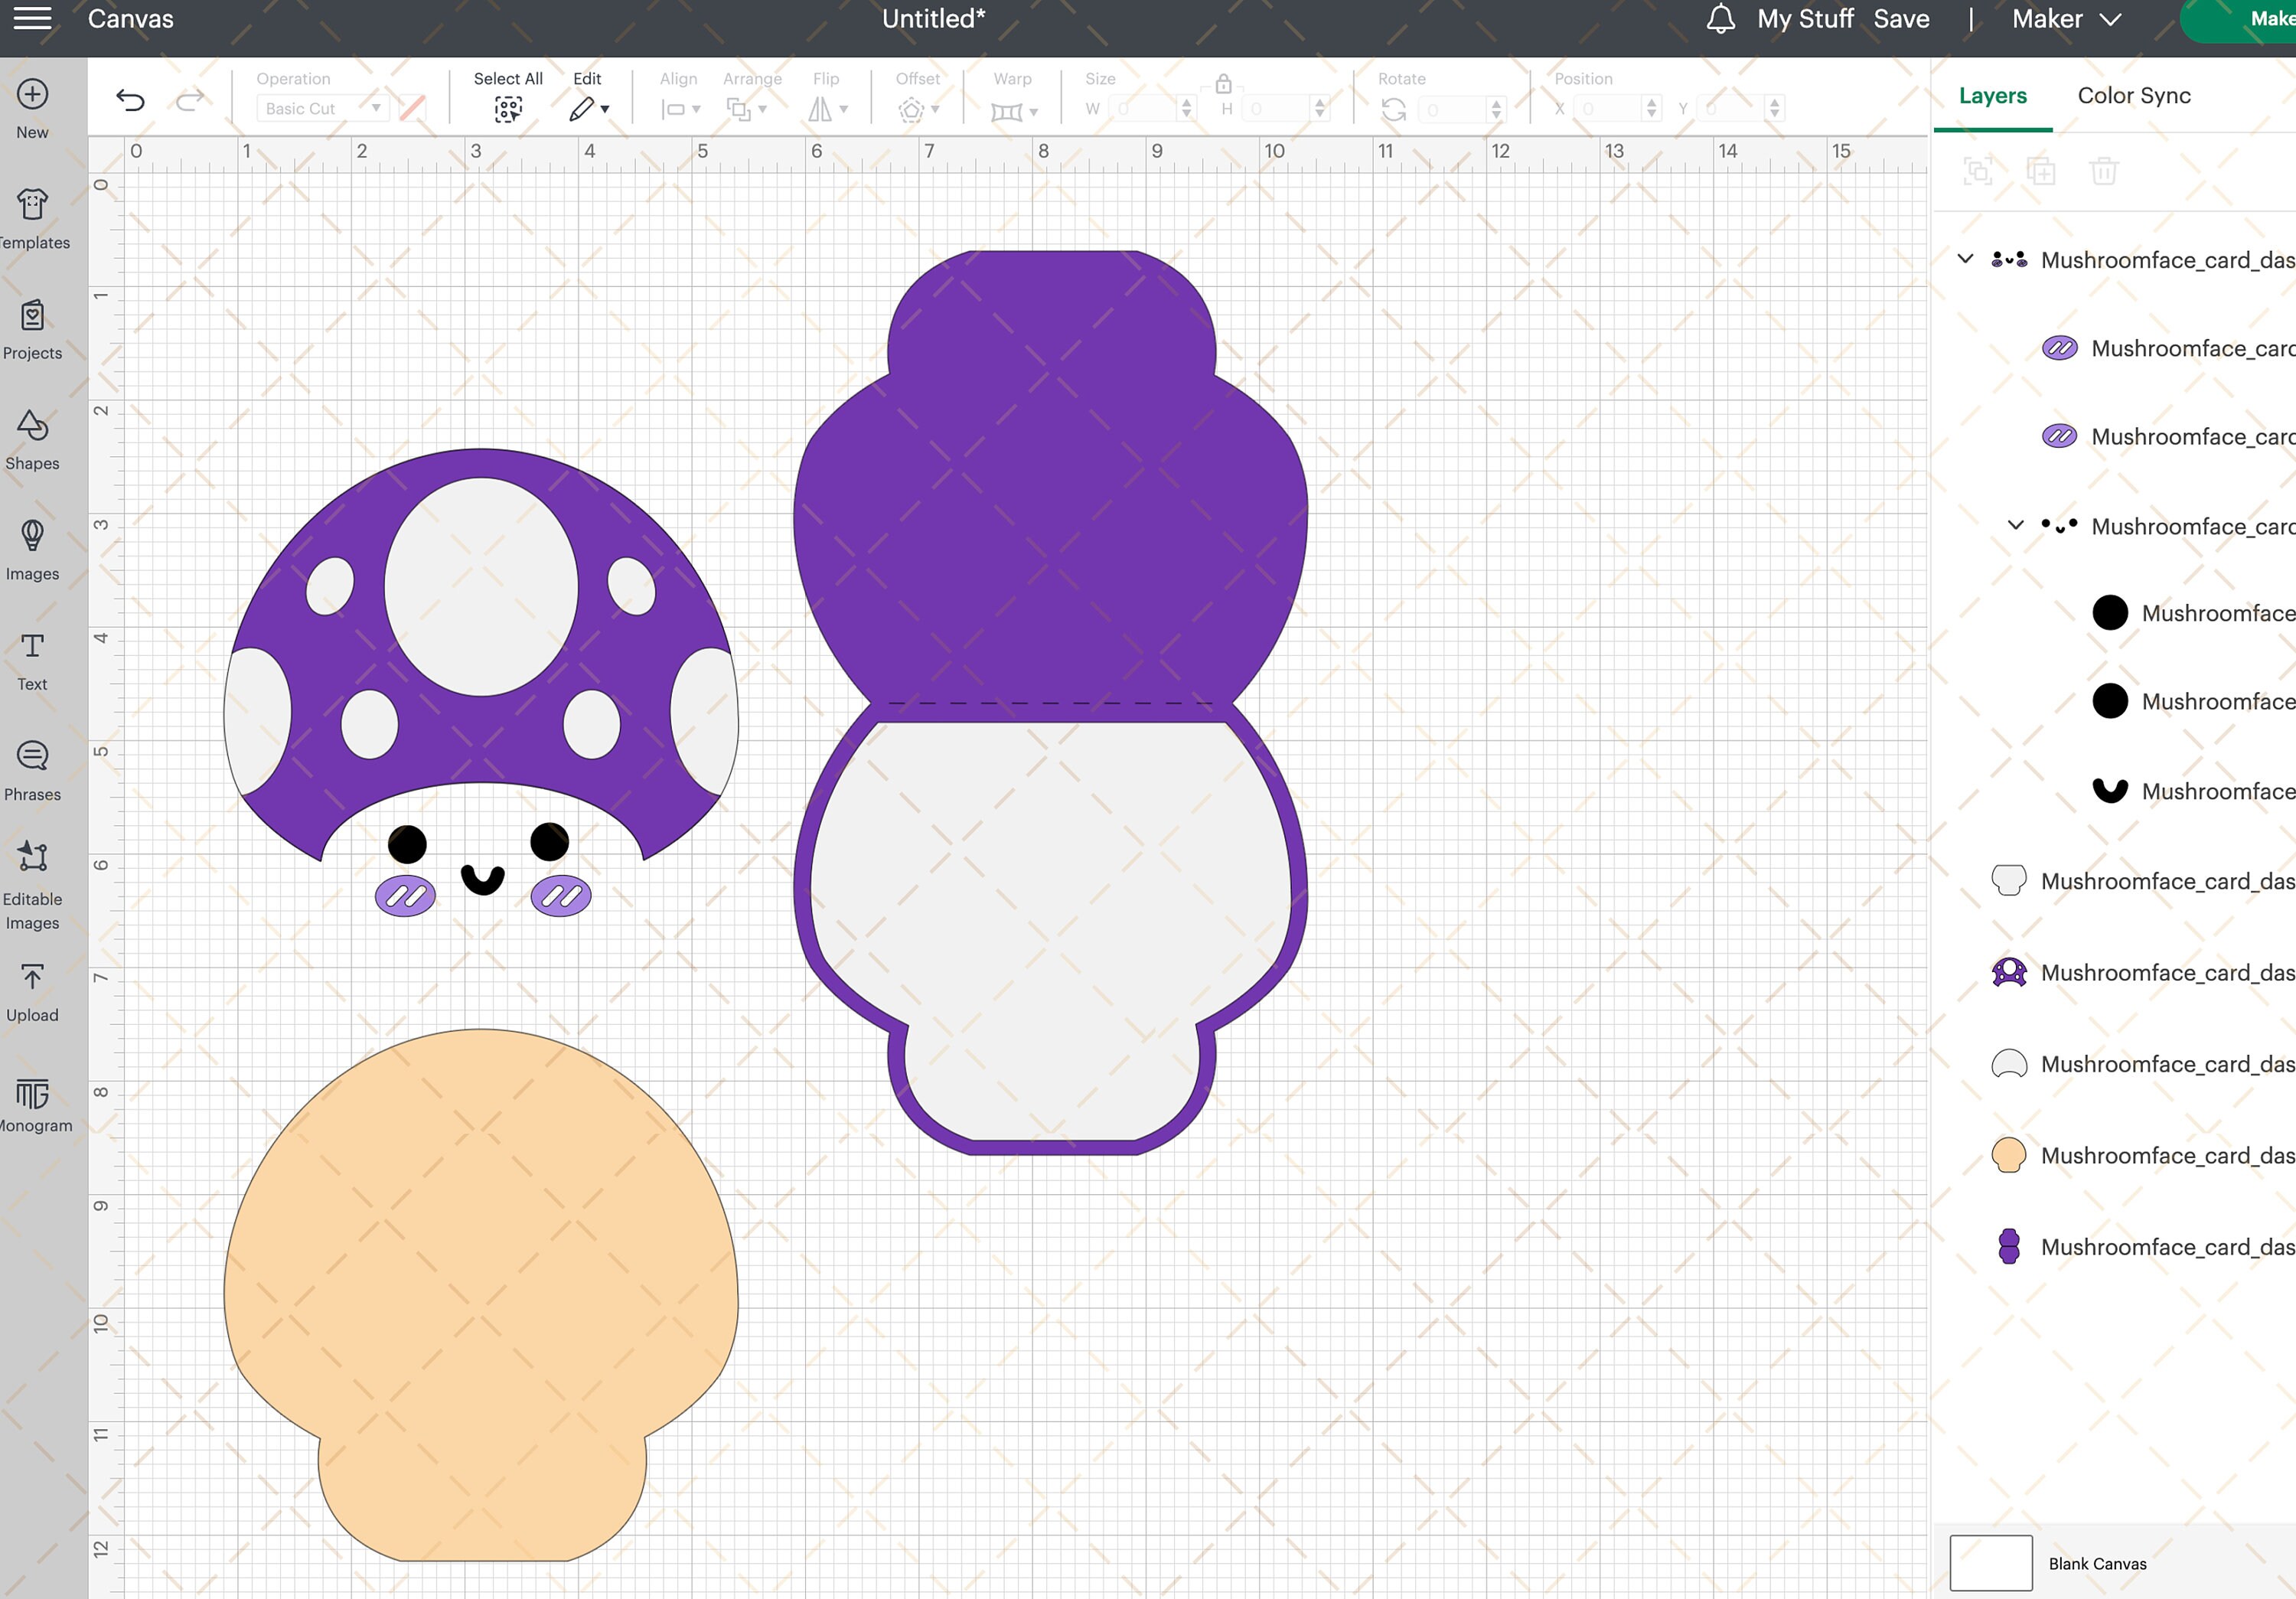
Getting started with your cutting machine is simple! First, locate the SVG file included in your download and upload it to your preferred design software, such as Cricut Design Space, Silhouette Studio (Designer Edition or higher), or Brother CanvasWorkspace. Since each software has a straightforward process for importing SVG files, just open the application, select the option to upload or import a file, and navigate to the SVG file on your device.
If you need step-by-step instructions for your specific machine, check out our detailed guides on uploading files to Cricut Design Space, Silhouette Studio, and Brother ScanNCut
Once the design is uploaded, you may want to ungroup the layers to adjust individual elements or resize the card to fit your preference. Right-click to select the Ungroup option to separate the layers. Be sure to maintain the proportions of the design if resizing, and double-check that your layers are set correctly for cutting.
When ready, cut each layer of the card from your preferred cardstock—67lb for a lighter feel or 110lb for added sturdiness. To achieve a vibrant and whimsical look, we recommend using colored cardstock.
Assembling Your Card

Now that you’ve uploaded and cut out all the layers, it’s time for the fun part—assembly! You can follow the assembly video linked here or keep reading for detailed step-by-step assembly instructions below.
Step 1: Attach the White Insert to Card Base

First, glue the white insert layer onto the scored card base. Because the white insert is slightly smaller than the background of the card, a neat border will frame the edges.
Step 2: Assemble the Mushroom Cap

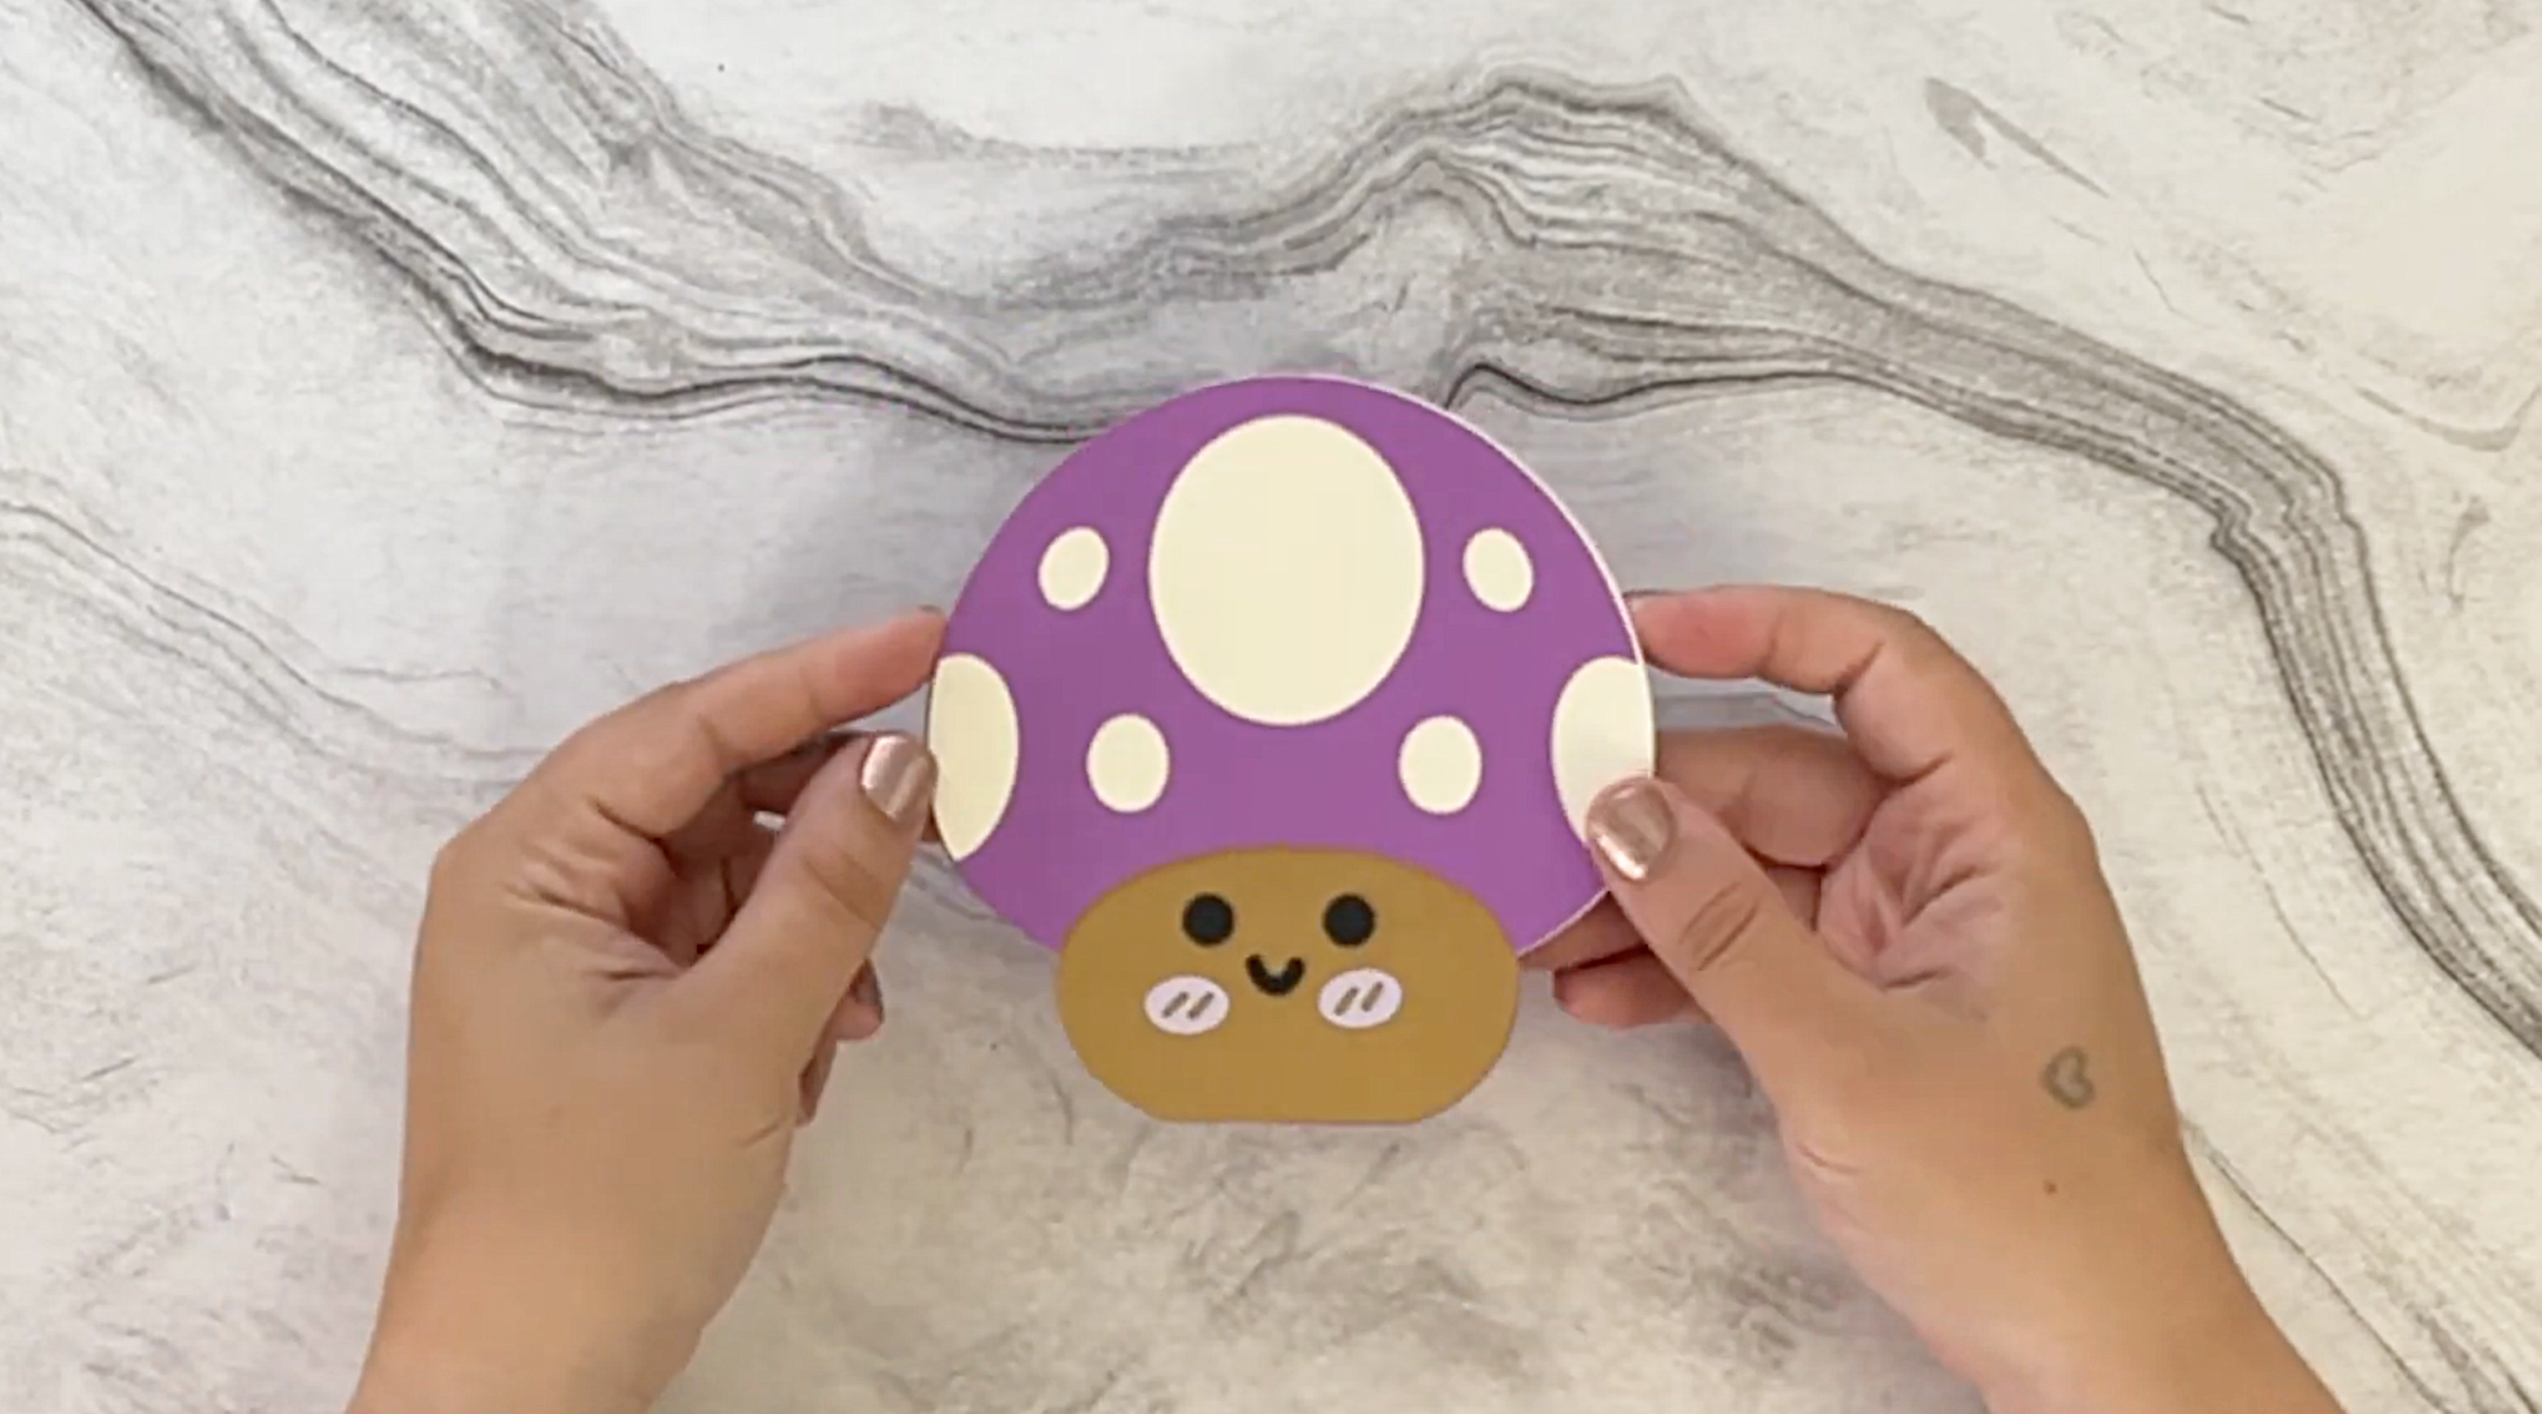
Next, take the top layer of the mushroom cap (the one with the cut-out holes) and glue it onto the solid white mushroom cap layer. This creates the iconic polka-dotted look!
Step 3: Build the Mushroom Body

Then, glue the assembled mushroom cap onto the brown mushroom silhouette layer. Align the edges carefully for a clean finish.
Step 4 (Optional): Add Facial Features
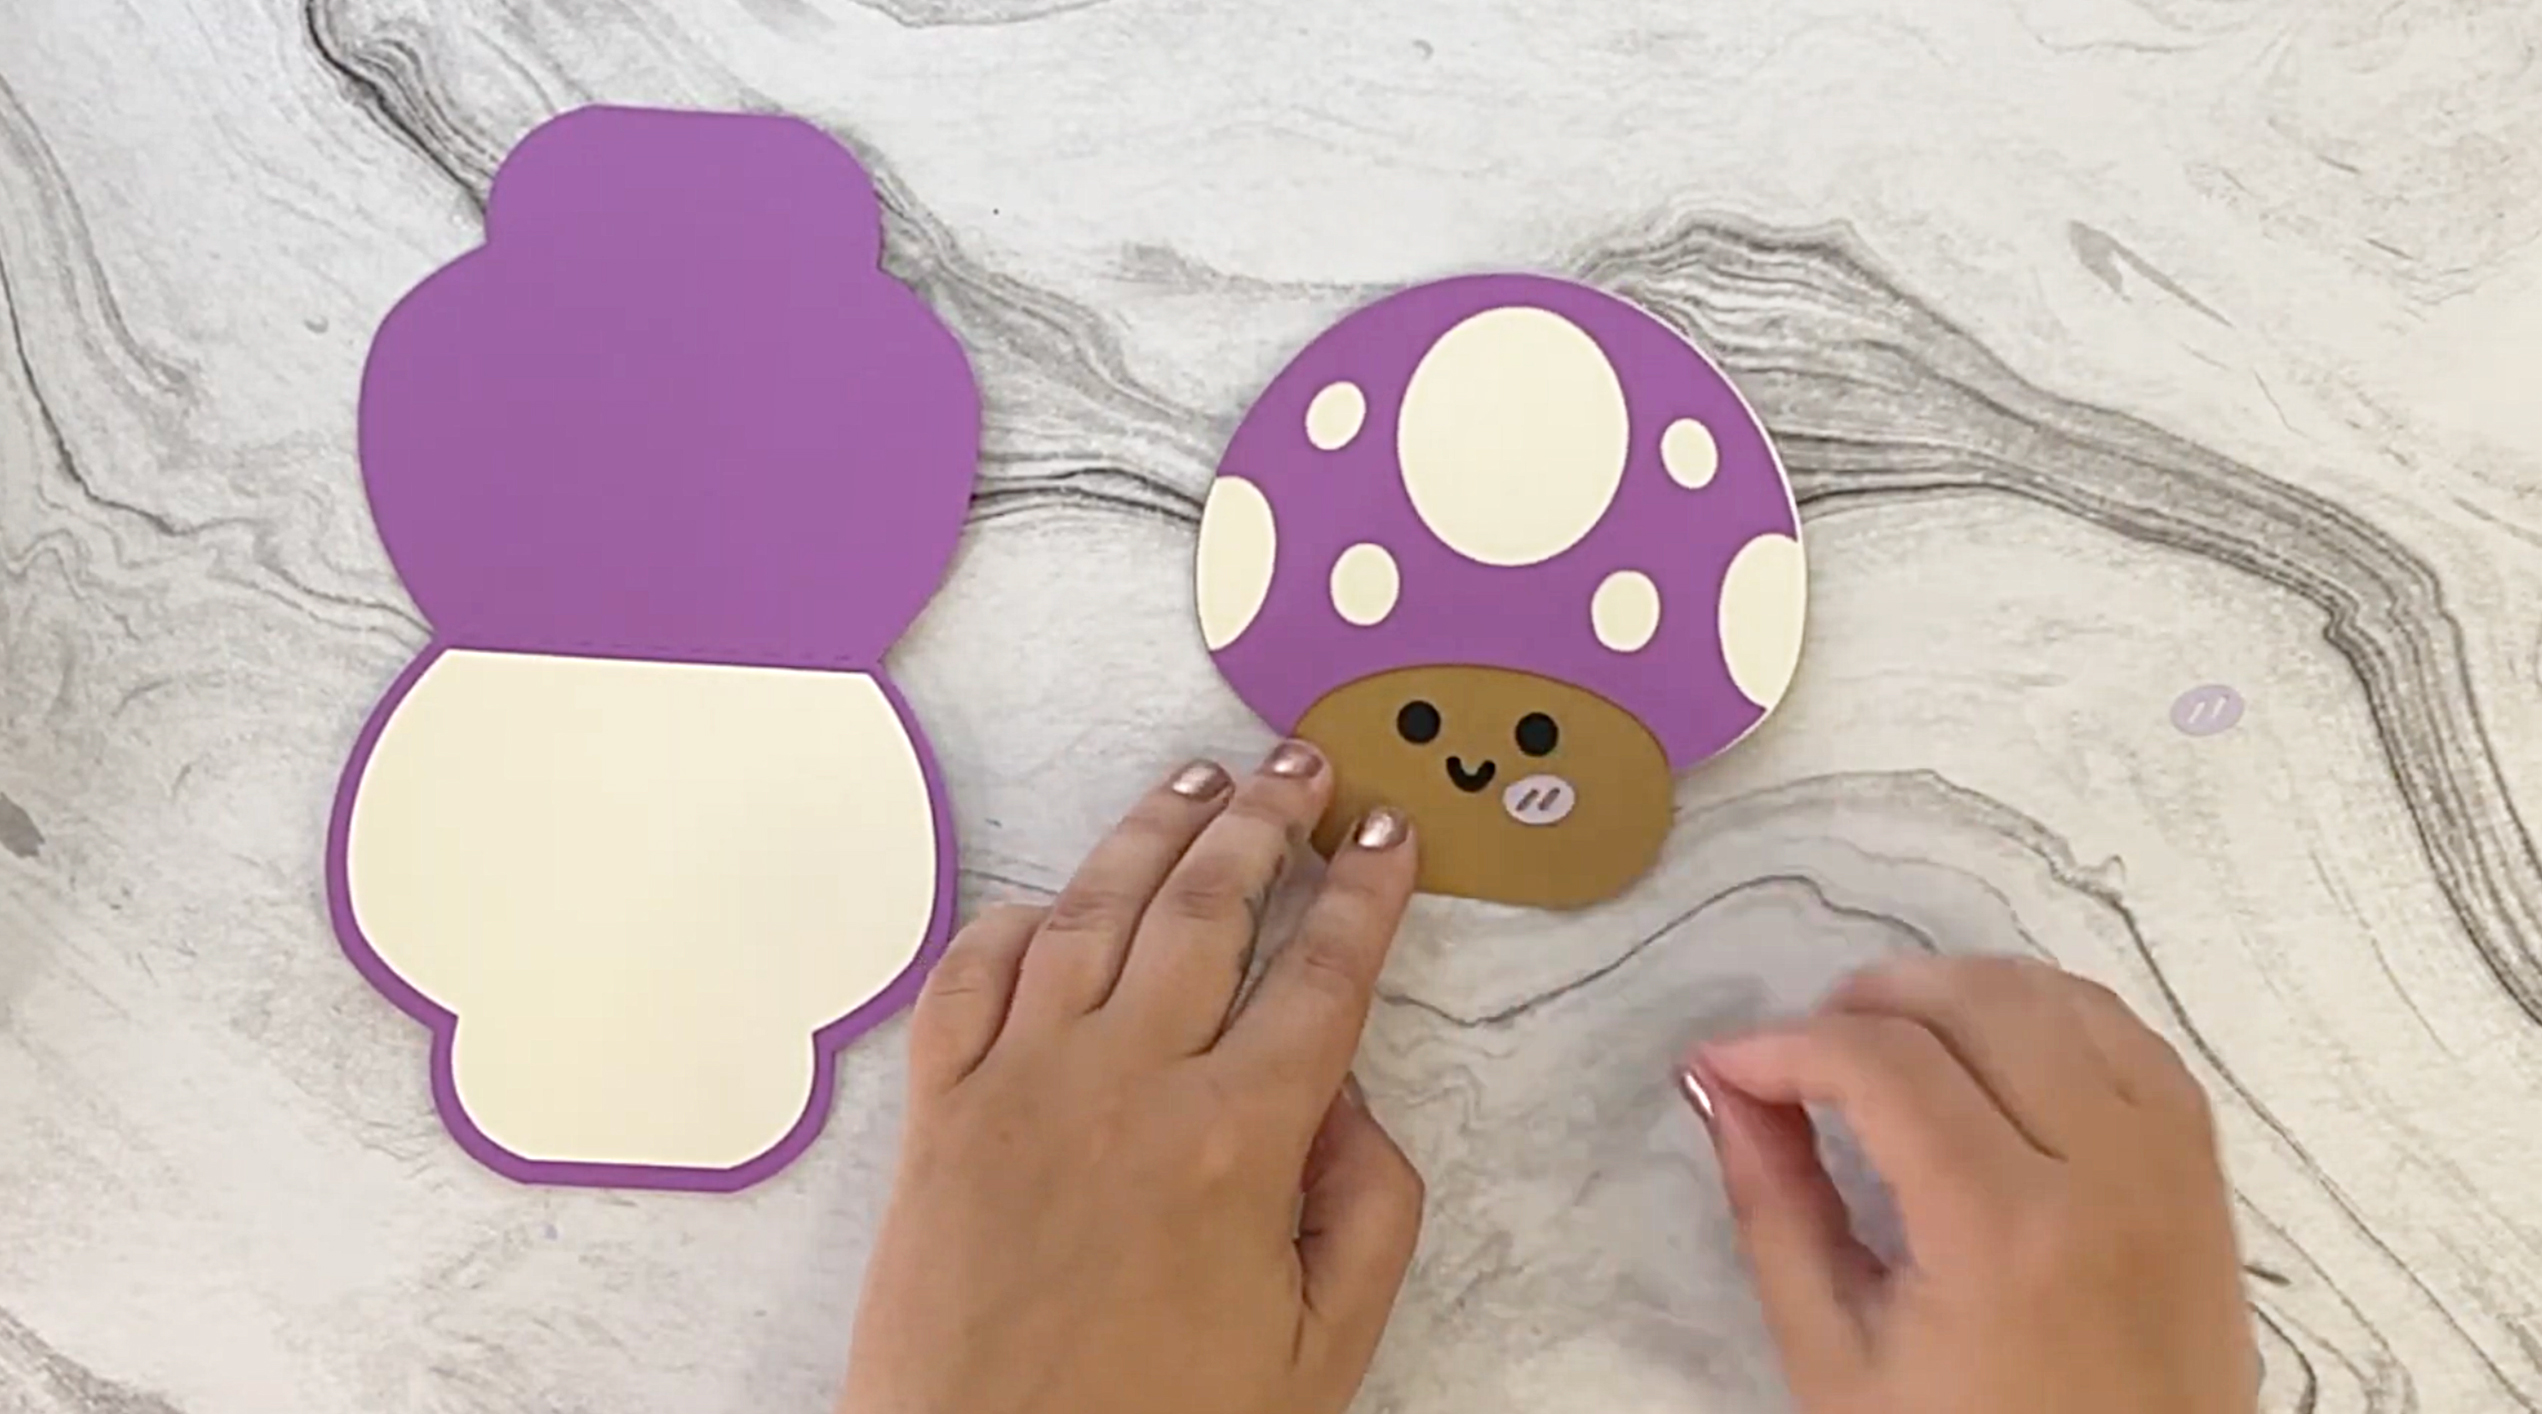
For an extra dose of charm, glue the small cutouts for the mouth, eyes, and cheeks onto the mushroom’s face. Although this step is optional, it adds an adorable personality to your card.
Step 5: Glue the Mushroom to the Card Base
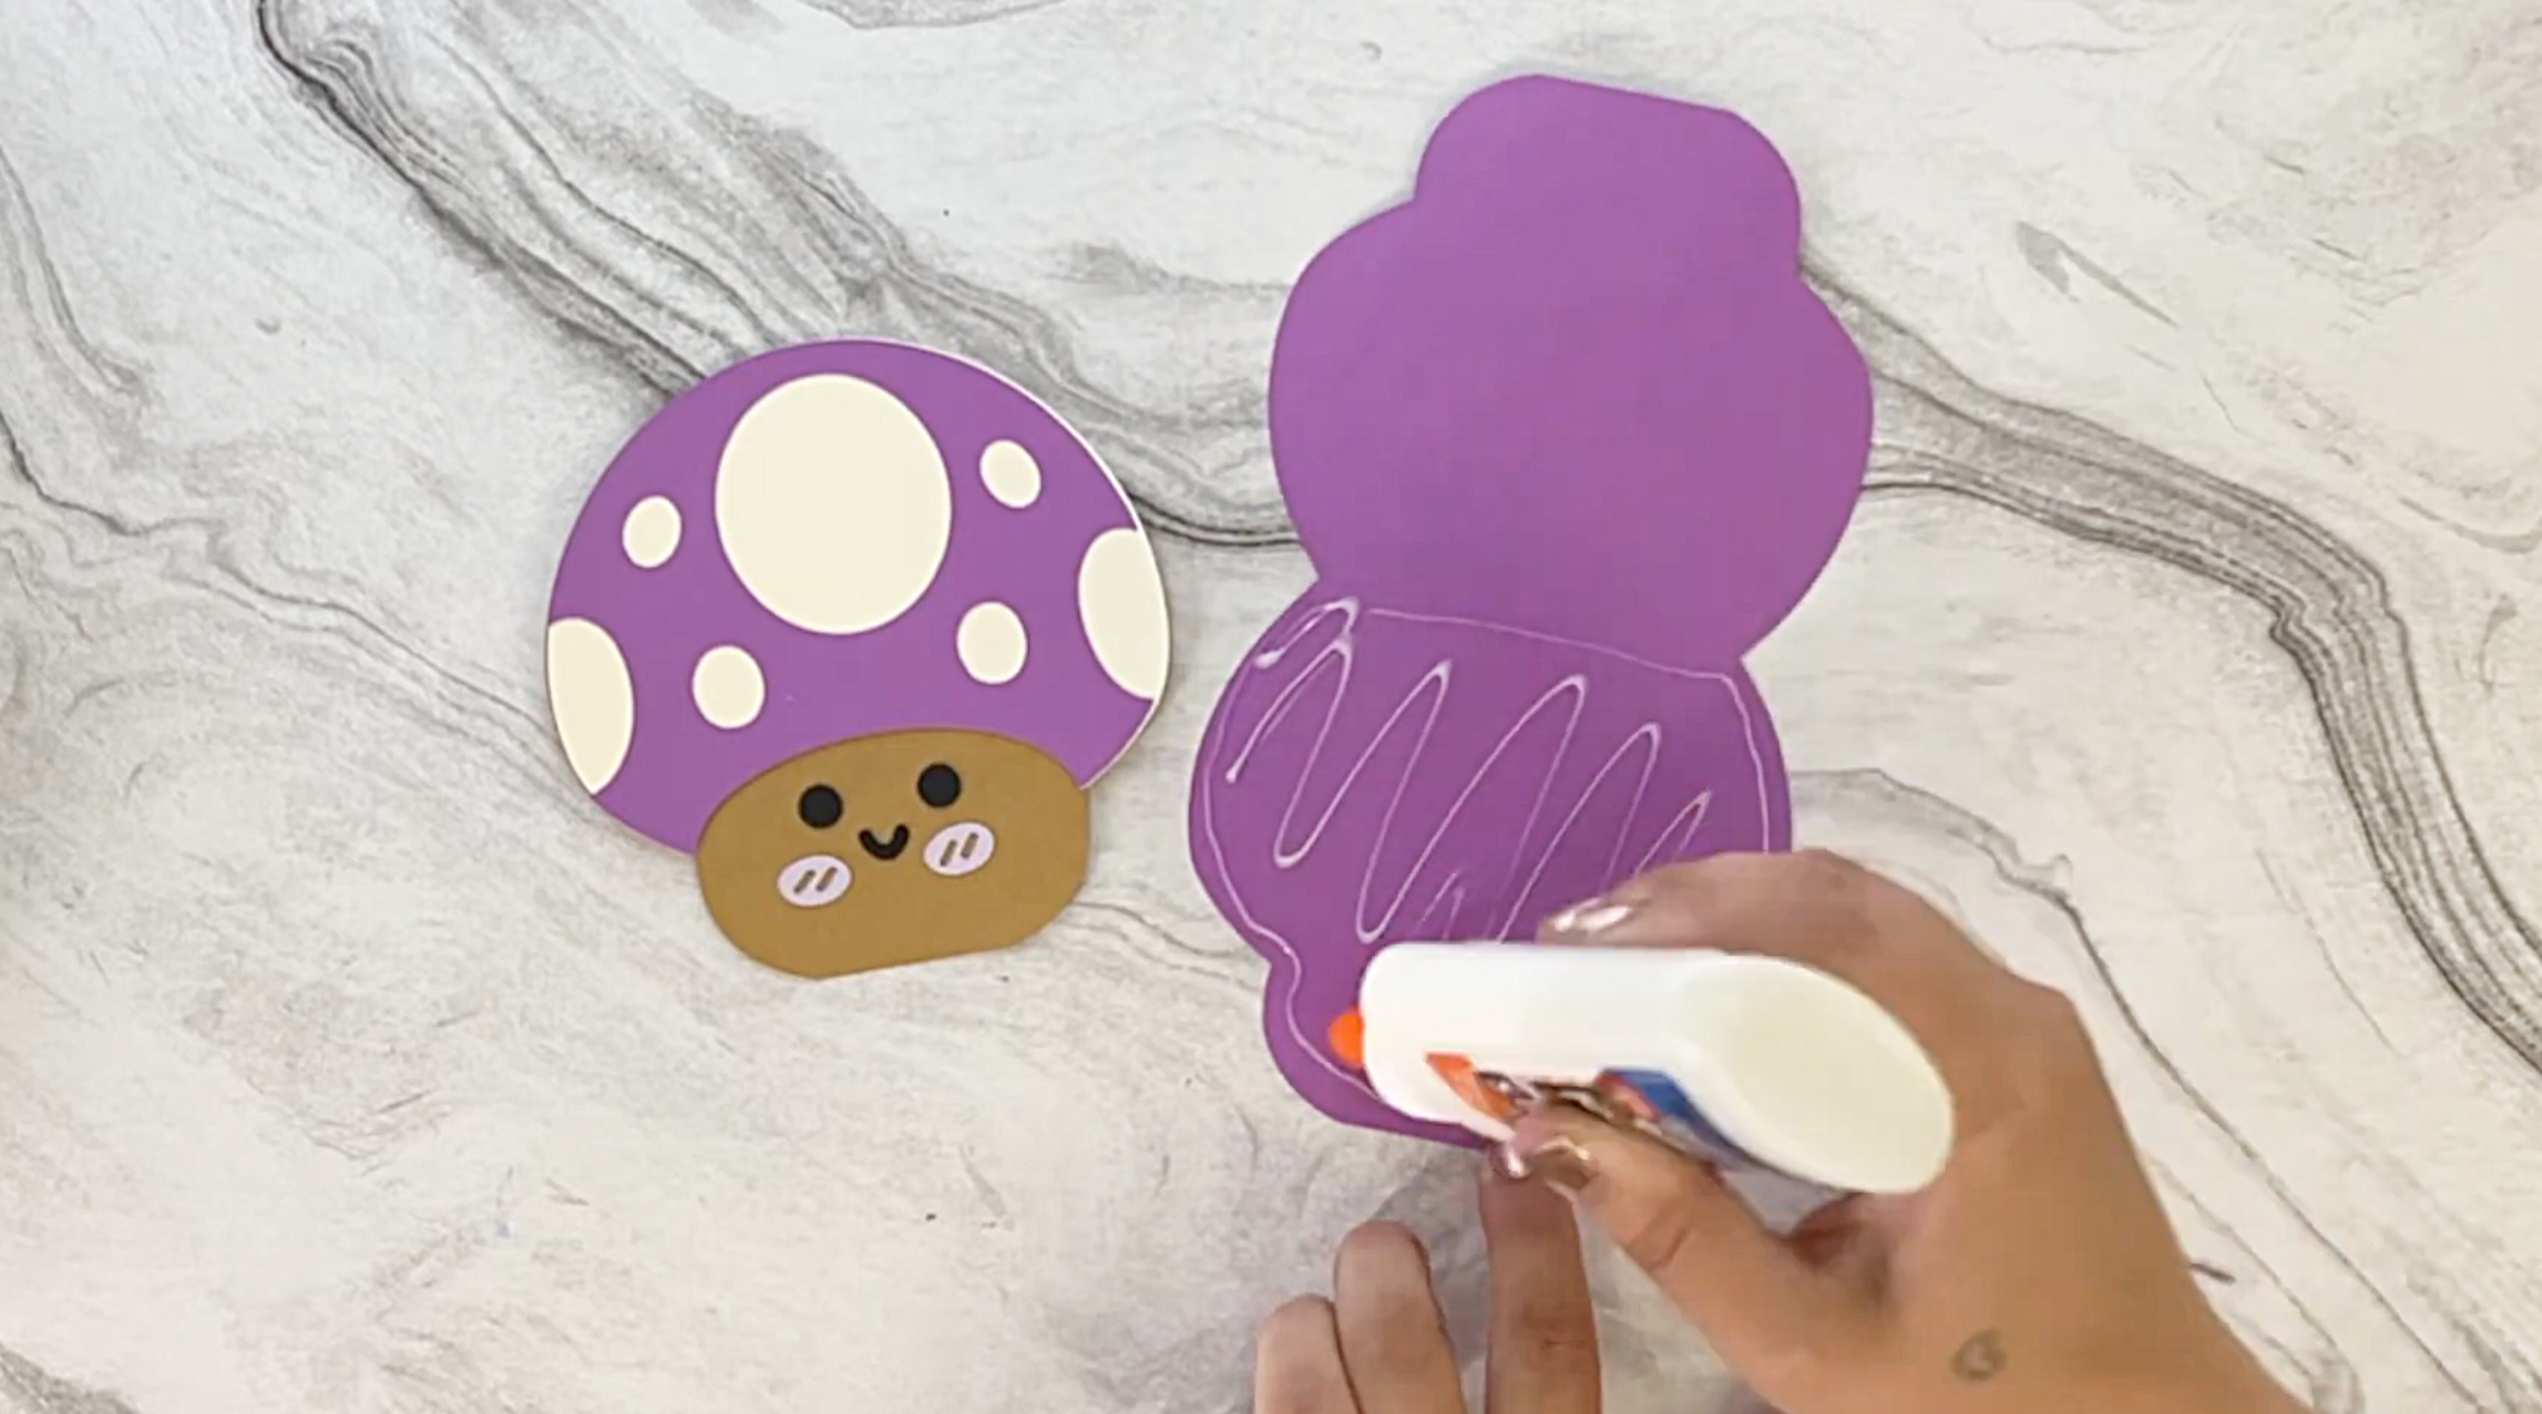
After that, flip the scored card base over so that the white insert faces the inside. Add glue to the front side of the card base and carefully attach the completed mushroom layer to it.
Final Step: Fold and Finish
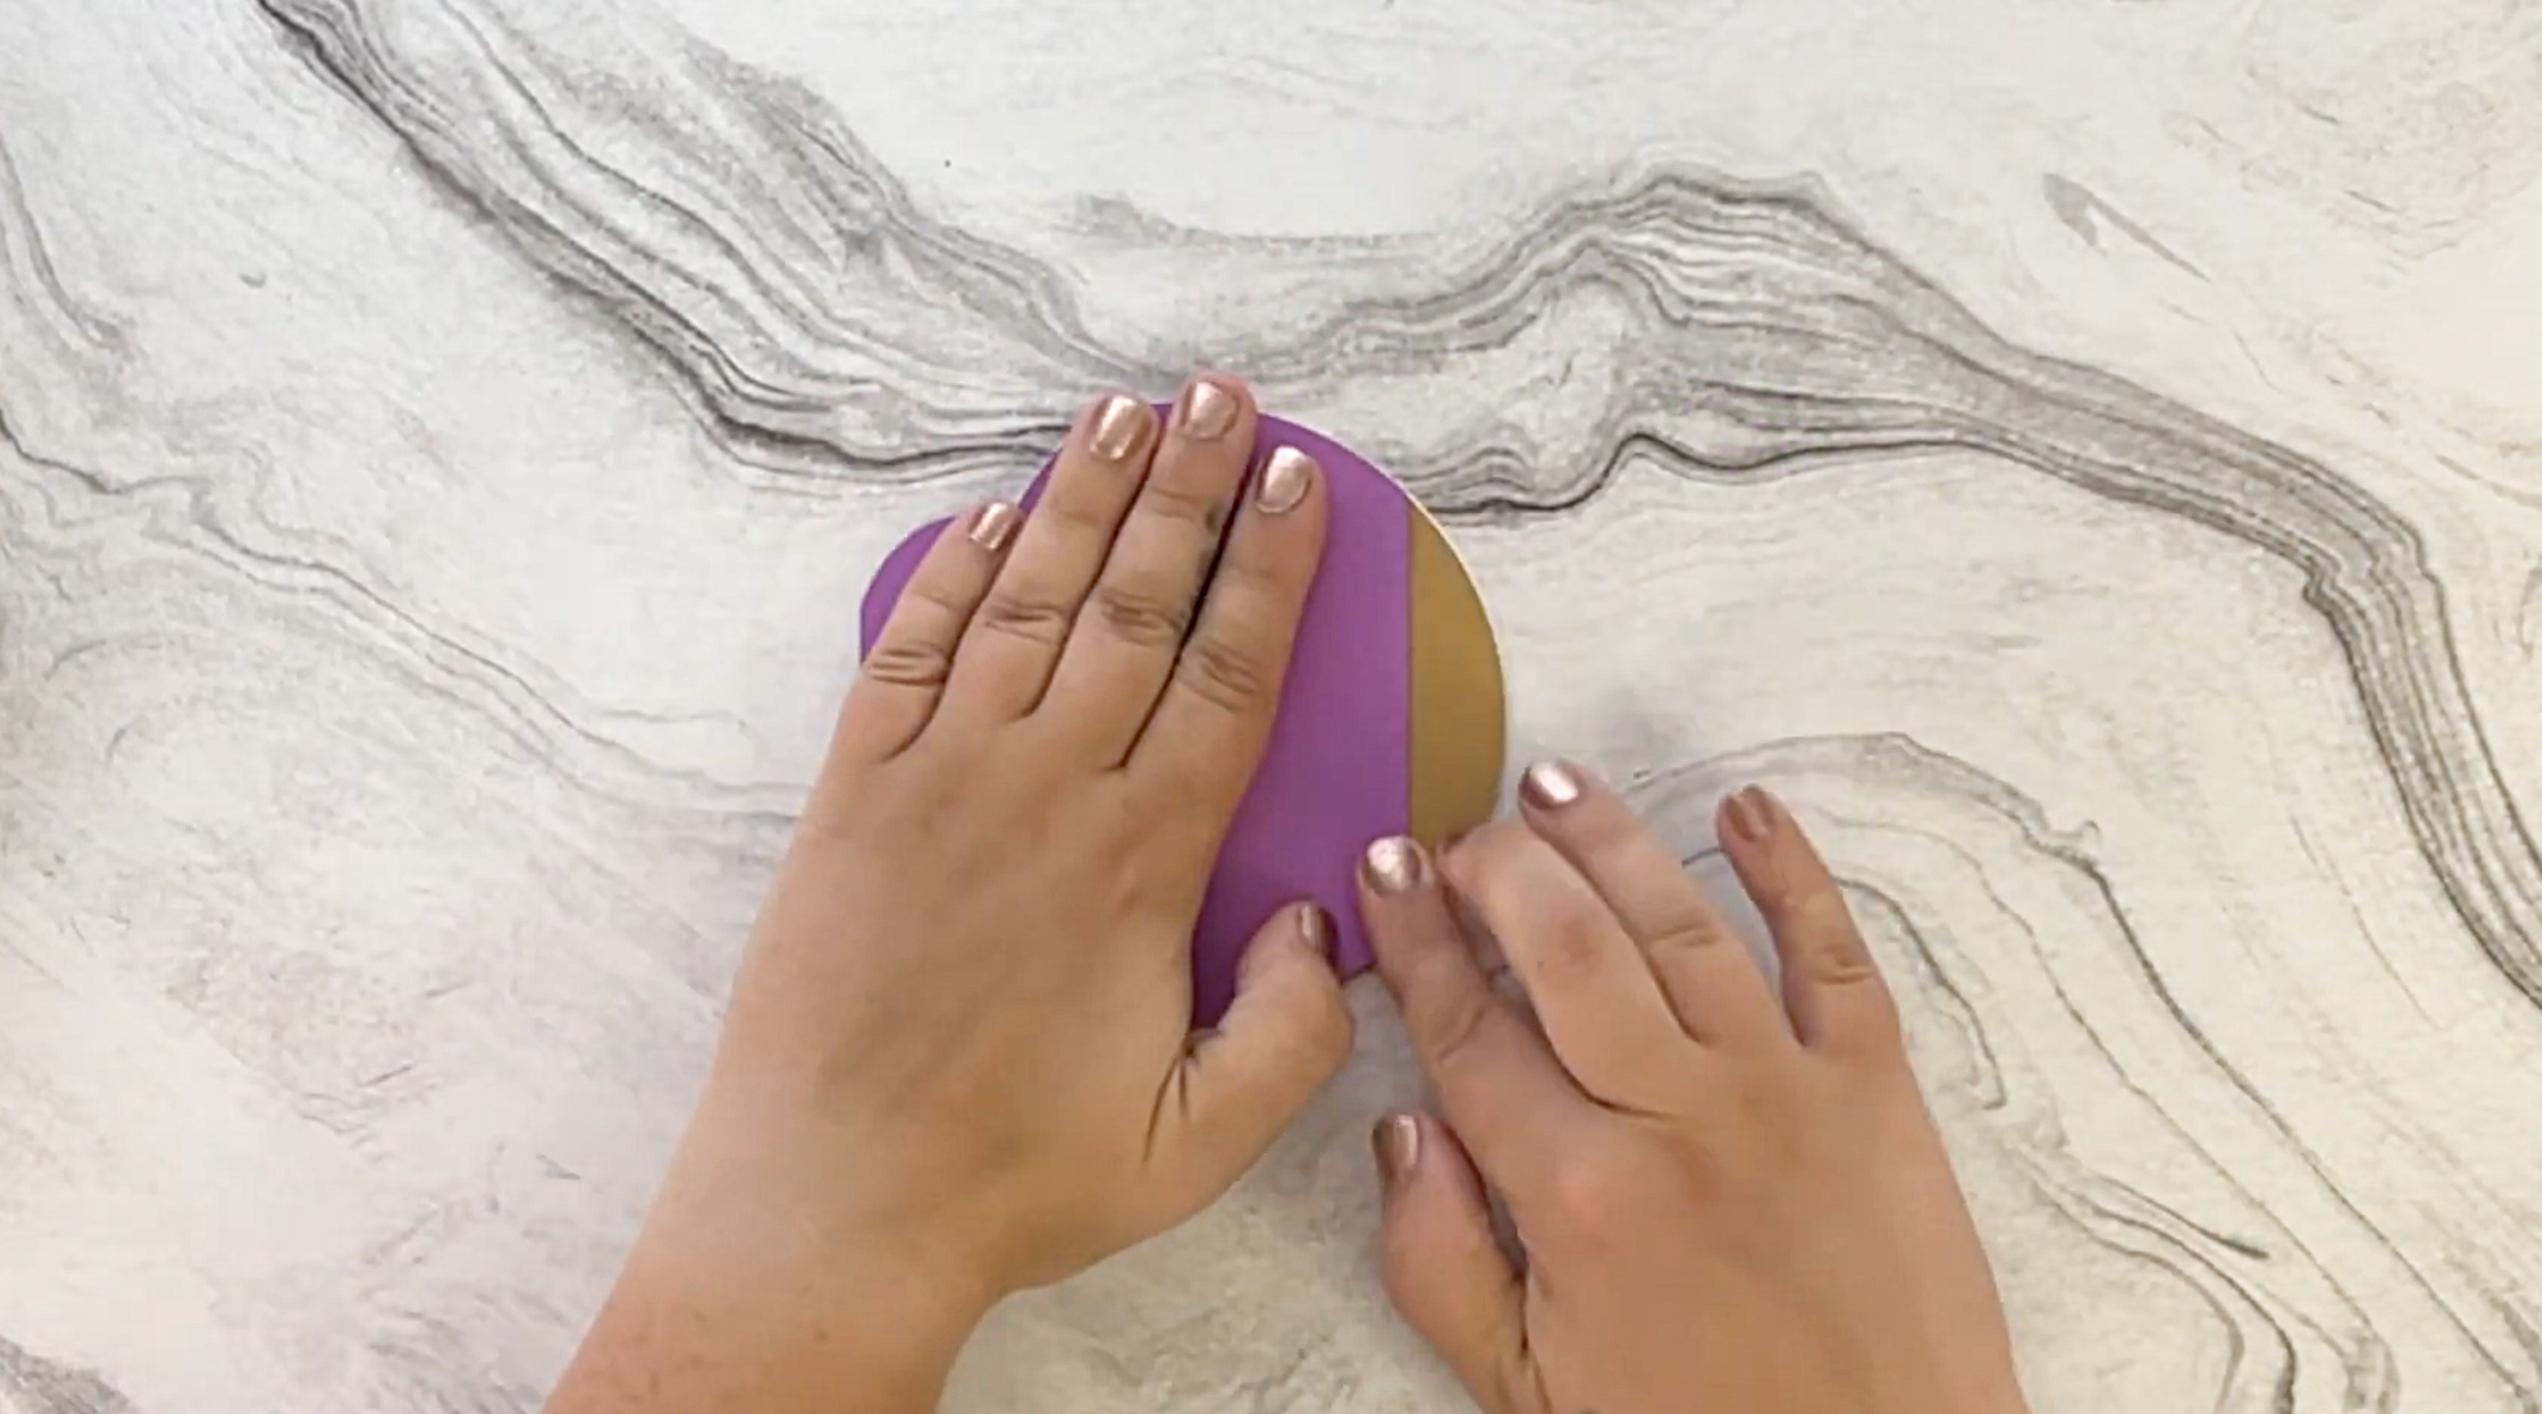
Finally, let everything dry completely. Once dry, fold the card along the scored line to complete the assembly. Now you have an adorable card, ready to delight its recipient!
Looking for your next creative project?
Be sure to explore our shop for a wide range of thoughtfully designed templates, perfect for makers of all skill levels. From seasonal decorations to heartfelt greeting cards, every design is crafted with care to make your projects as enjoyable as they are rewarding. Therefore, whether you’re working on a special gift or indulging in your love for crafting, we’re here to inspire and support your creativity. Happy crafting!