

Valentine’s Day is the perfect time to spread love and warmth, and what better way to do that than with a heartfelt, handmade gift? We’re excited to offer you a FREE digital template from our Valentine’s Day collection! This charming coffee cup design is sure to bring a smile to anyone who receives it. The lid of the cup slides out to reveal a hidden gift card, while a delicate coffee sleeve adorned with a heart-shaped lock and key adds a touch of romantic flair. It’s easy to make, fun to personalize, and the perfect way to add a creative touch to a practical gift.
Ready to get started? Keep reading for all the details on what you’ll need, how to download the files, and tips for crafting your perfect coffee cup gift card holder.
Materials Needed
- 67lb – 110lb cardstock:
- For the best results, use 110lb cardstock for the foldable base layer for added sturdiness.
- Use 67lb cardstock for the detailed elements for a clean and professional look. Any combination will work great, so feel free to experiment!
- Paper glue: A fast-drying glue with a fine tip works best for precision.
- This template: Download the project files here

Downloading and Unzipping Your Files
This download comes in a ZIP folder, bundling all the necessary files into a single, easy-to-manage package. Inside, you’ll find multiple formats, including SVG, PDF, and PNG, designed to work seamlessly with a variety of crafting tools and machines. ZIP folders are a practical way to keep everything organized and ensure you have all the files you need for your project. If you need help unzipping the files, device-specific instructions, or additional tips, check out our detailed guide here.
Working with Score Lines: Solid vs. Dashed

You’ll notice two file options in your download: one with solid score lines and another with dashed score lines. These options are designed to accommodate various cutting machines and preferences. Here’s how to choose the right one for your setup:
-
For Machines with Scoring Tools:
- Use the files labeled “Solid Score.”
- Upload the SVG or your preferred file type.
- Set any red lines to SCORE (in Cricut, these may appear black but will show as red when selected).
- Don’t forget to attach your layers before cutting!
-
For Machines without Scoring Tools (or if you prefer dashed lines):
- Use the files labeled “Dashed Score.”
- Upload the SVG or your preferred file type.
- The score lines in these files are already attached, so you can begin creating right away.
If you’re unsure which file to use, we recommend choosing the “Dashed Score” files. They are more universally compatible and work well with a wider range of machines. For a quick overview, check out our helpful 2-minute video here. By tailoring the files to your machine’s capabilities, you’ll ensure smooth cutting and assembly.
Uploading the SVG to Your Cutting Software

Getting started with your cutting machine is simple! First, locate the SVG file included in your download and upload it to your preferred design software, such as Cricut Design Space, Silhouette Studio (Designer Edition or higher), or Brother CanvasWorkspace. Since each software has a straightforward process for importing SVG files, just open the application, select the option to upload or import a file, and navigate to the SVG file on your device.
If you need step-by-step instructions for your specific machine, check out our detailed guides on uploading files to Cricut Design Space, Silhouette Studio, and Brother ScanNCut
When you’re ready to craft, cut each layer of the project from your preferred cardstock. For a lighter feel, 67lb cardstock works beautifully, while 110lb adds extra sturdiness for a more durable design. To create a polished and festive look, use romantic shades like red, pink, or white for the coffee cup and consider metallic or glitter paper for the key and lock to add an extra touch of fun. These thoughtful details can elevate your project and make your handmade gift card holder a standout piece.
Assembling Your Gift Card Holder
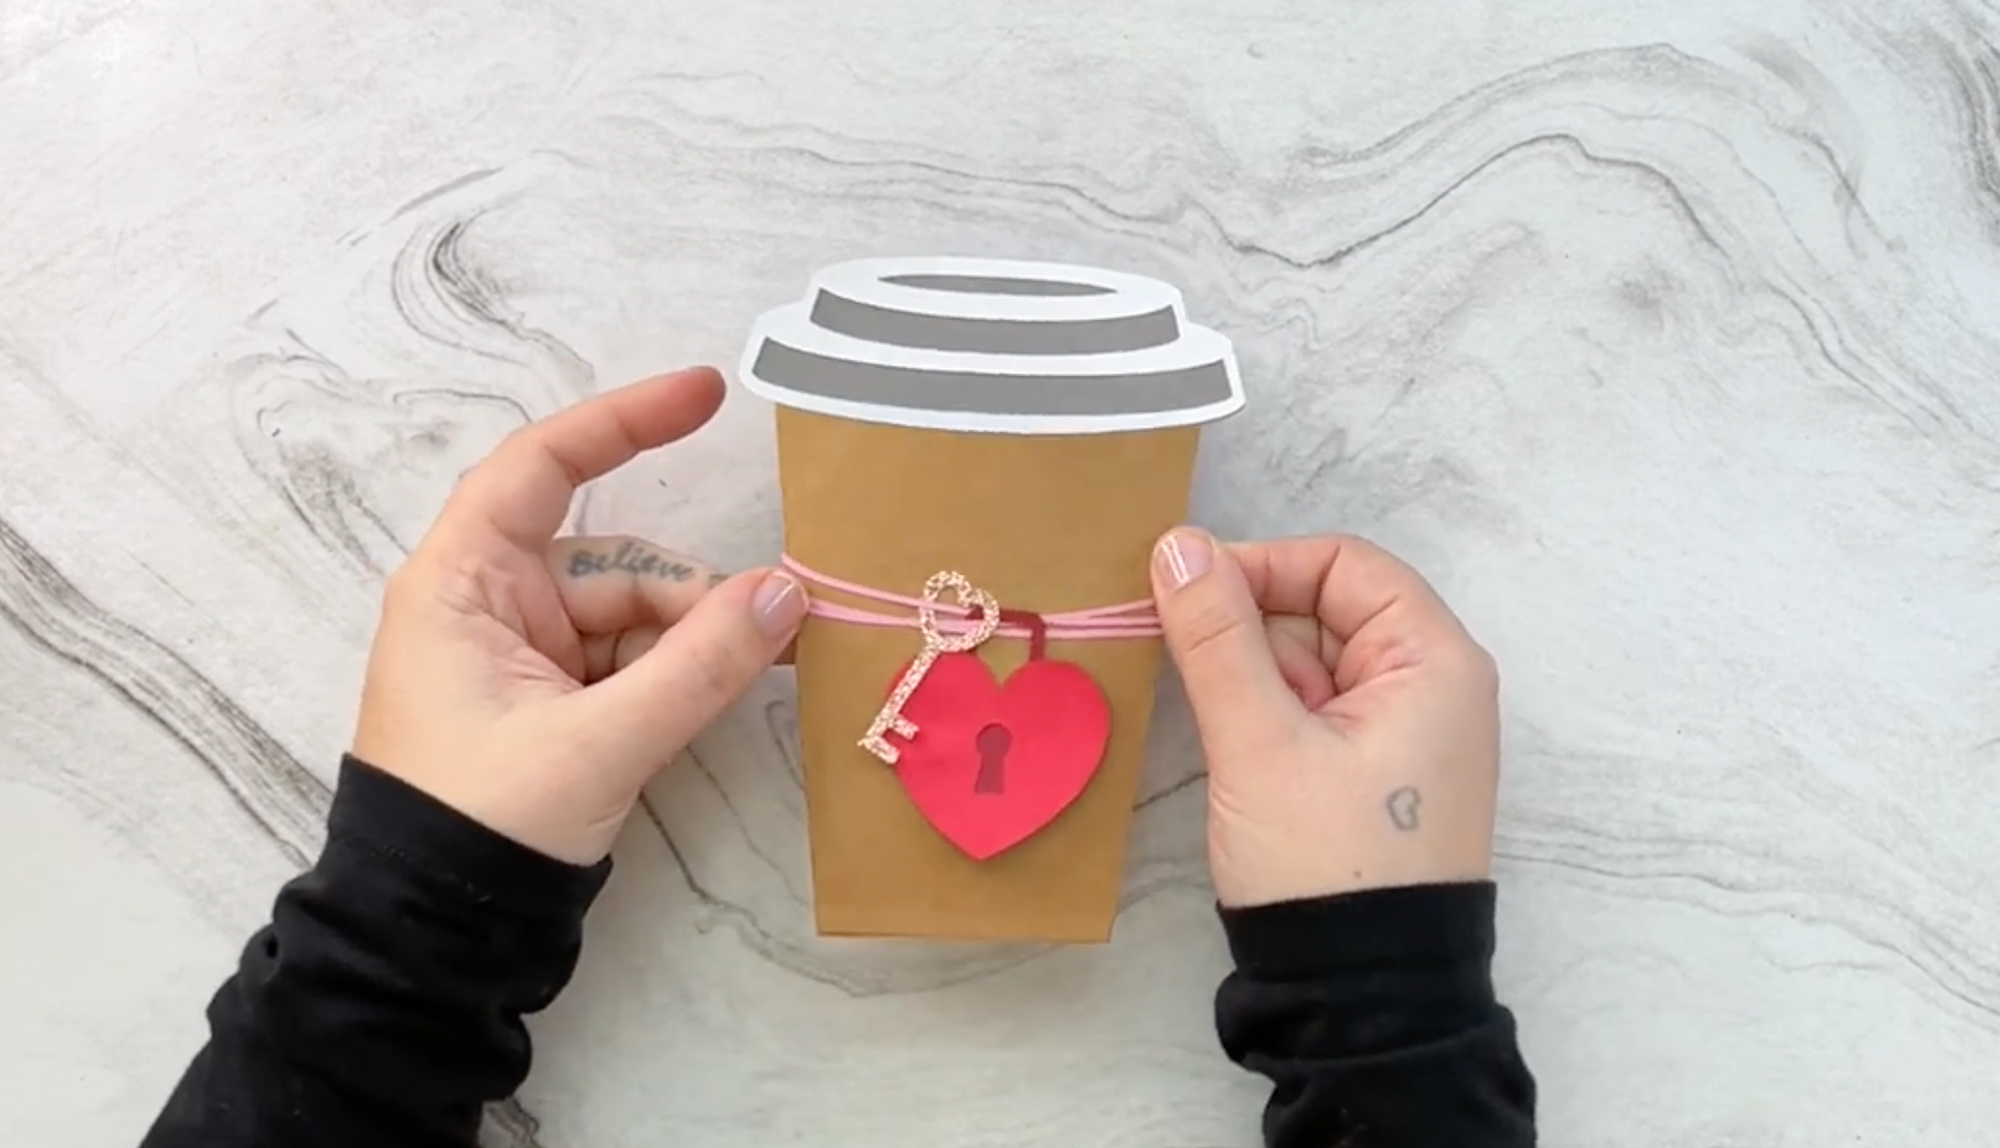
Now that you’ve uploaded and cut out all the layers, it’s time for the fun part—assembly! You can follow the assembly video linked here (skip to 2:10 for this design) or keep reading for detailed step-by-step assembly instructions below.
Step 1: Assemble the Coffee Lid

Start by gluing the white coffee lid onto the light gray base. This forms the top part of your gift card holder.
Step 2: Fold and Secure the Lid Base
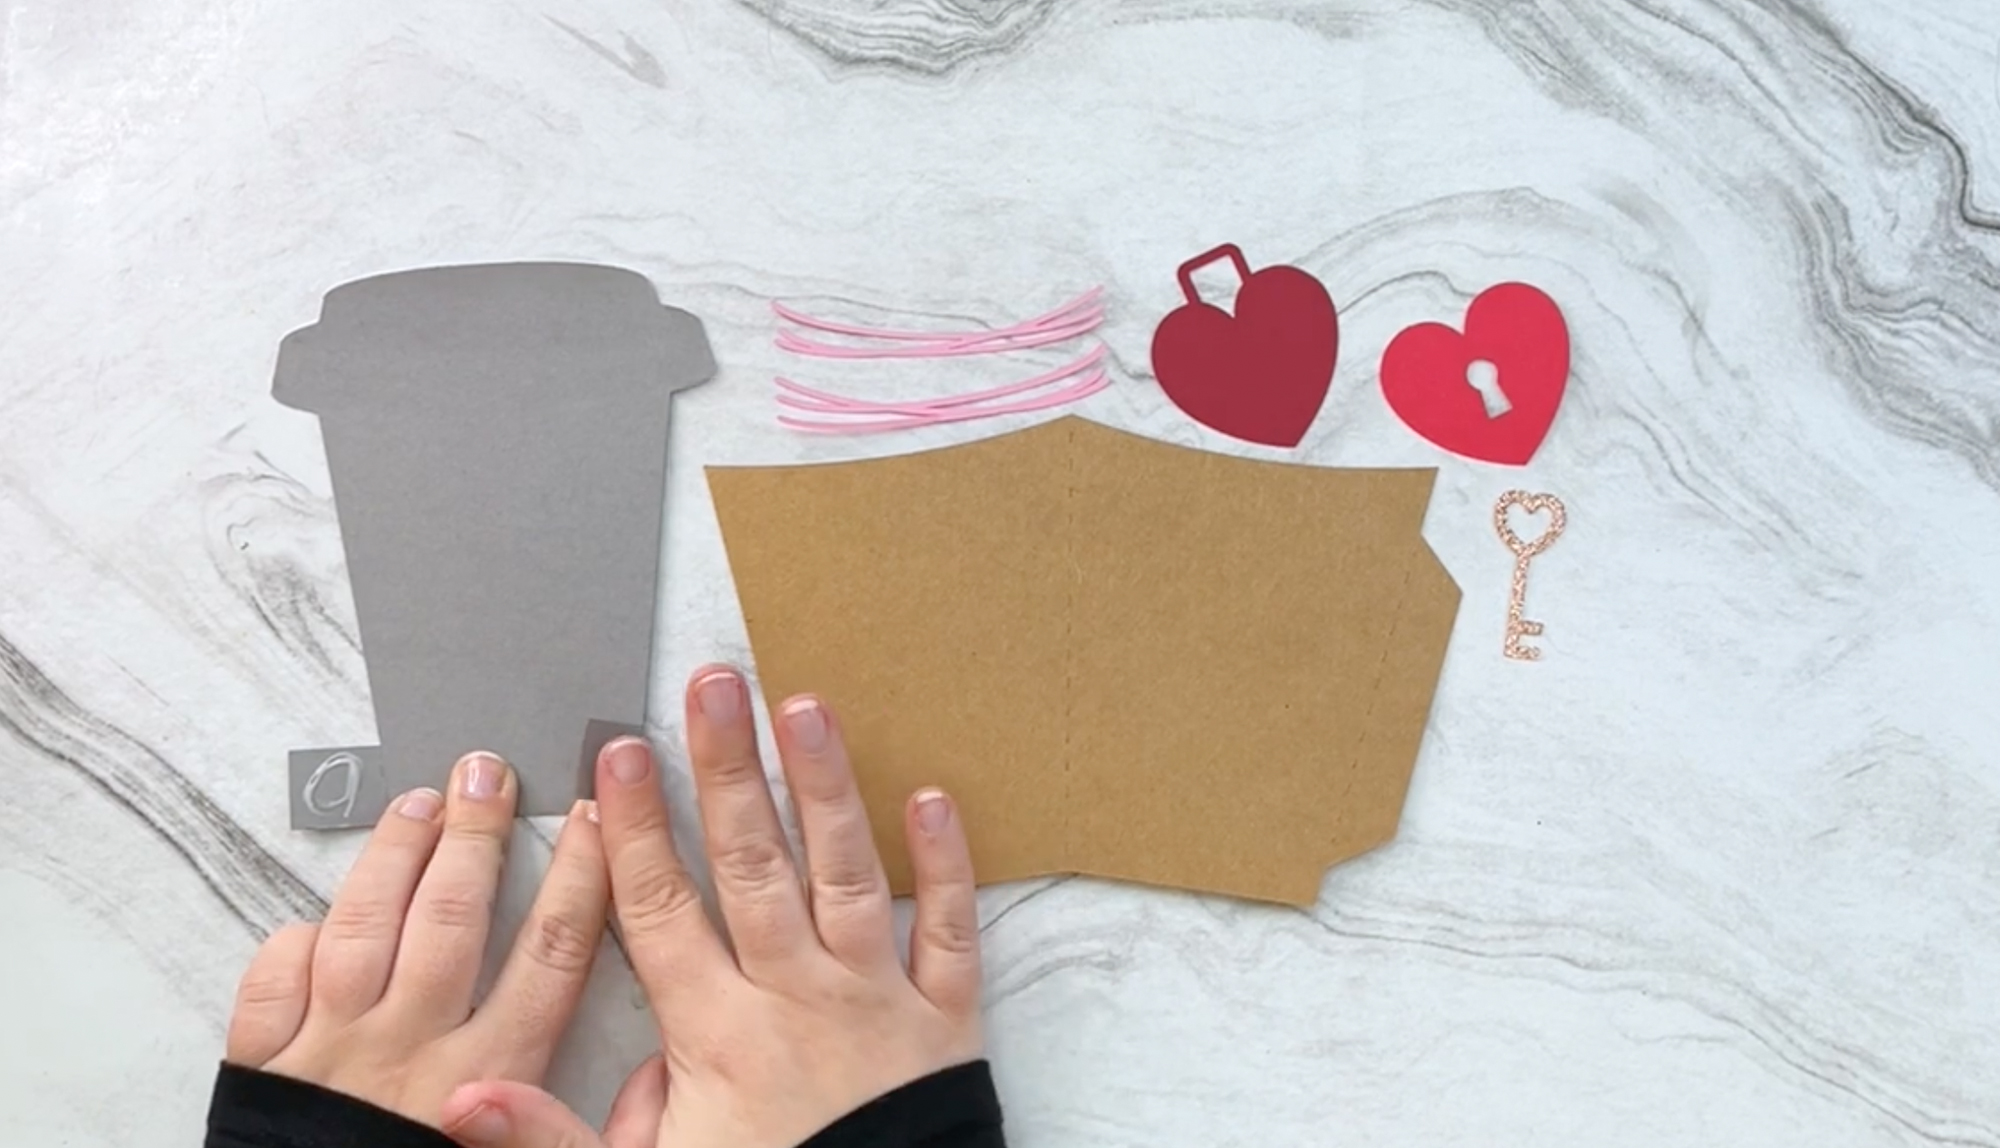
Fold the light gray base along the score lines, and glue the tabs down to the back.
Step 3: Build the Coffee Cup Base
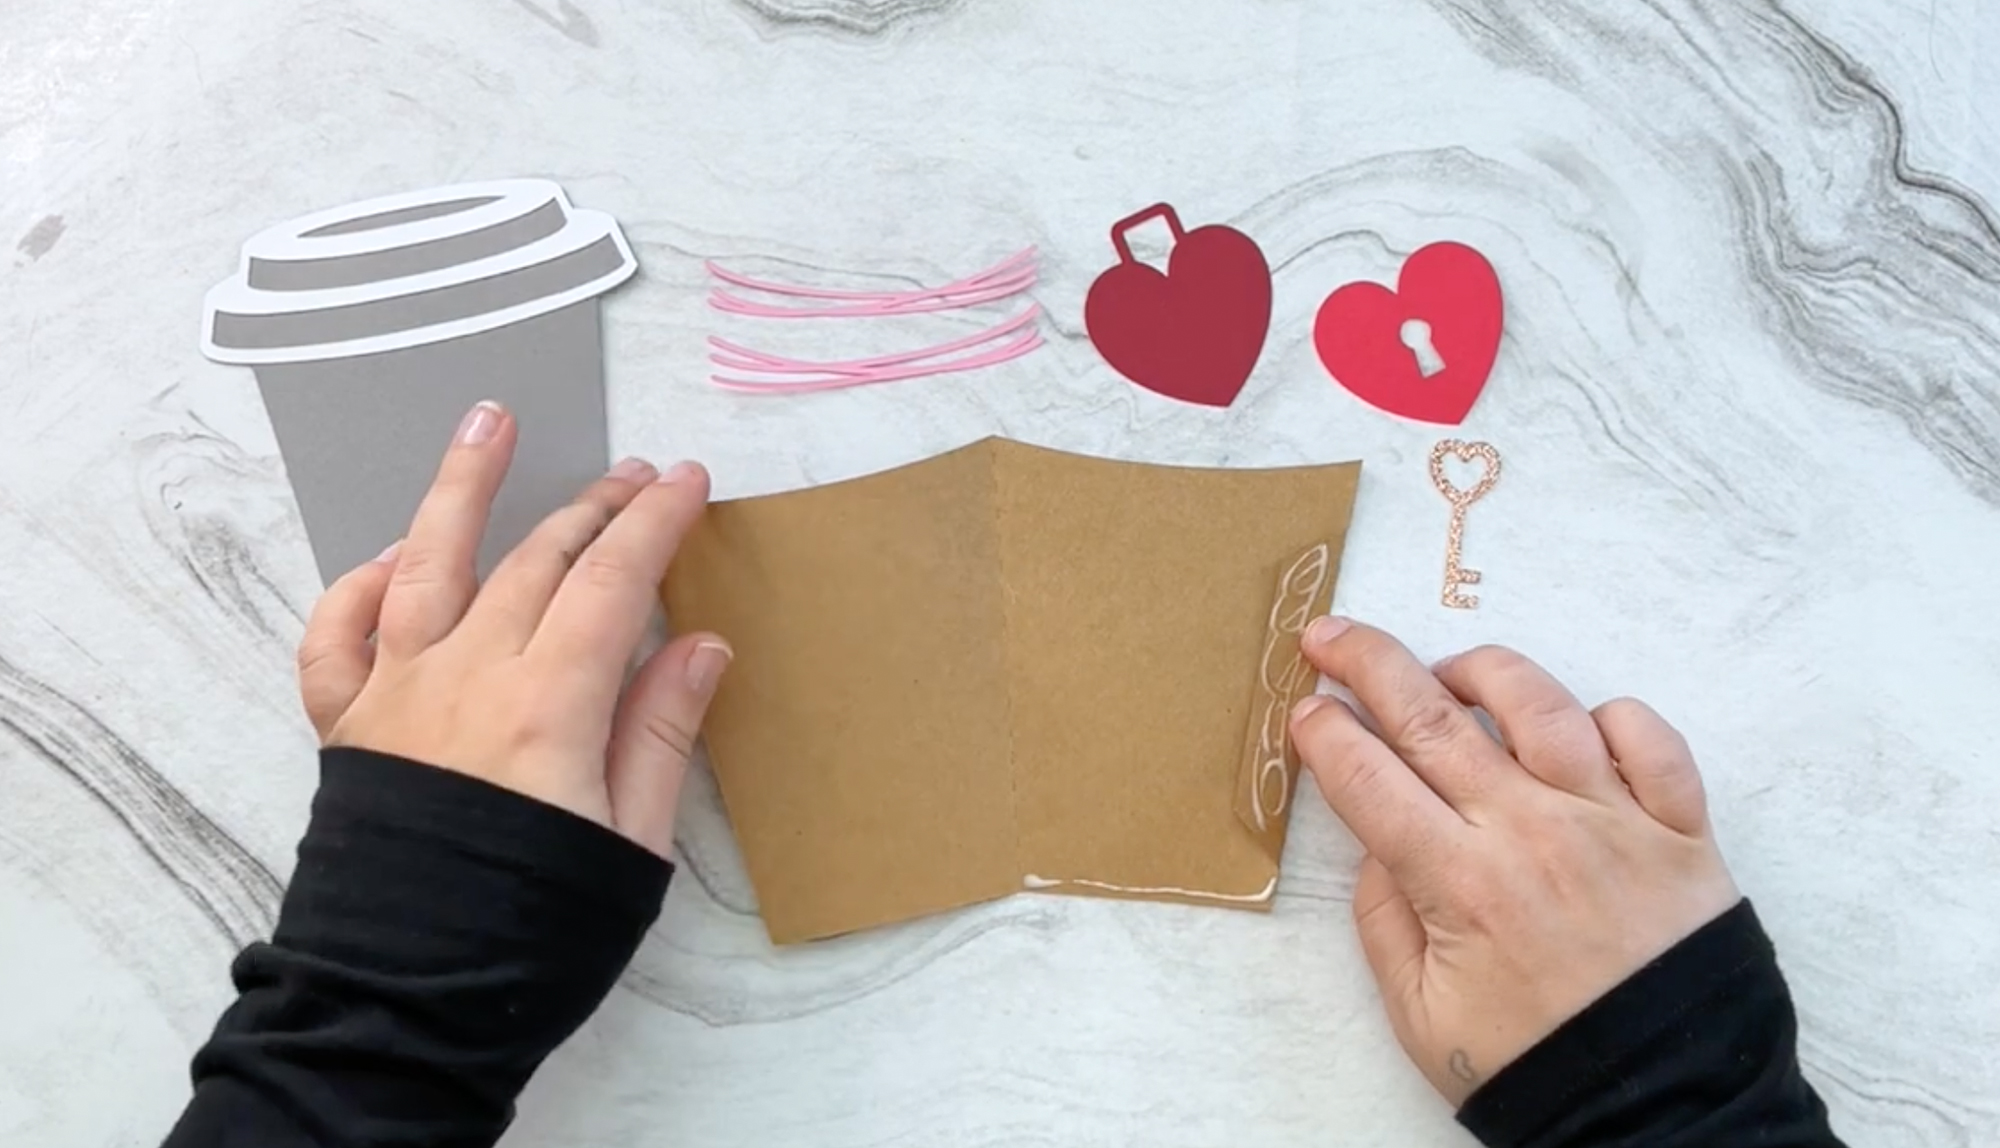
Fold along the score lines of the coffee cup, then add glue along the bottom edge and the side tab. Carefully glue the cup together, ensuring the edges align neatly.
Step 4: Assemble the Lock
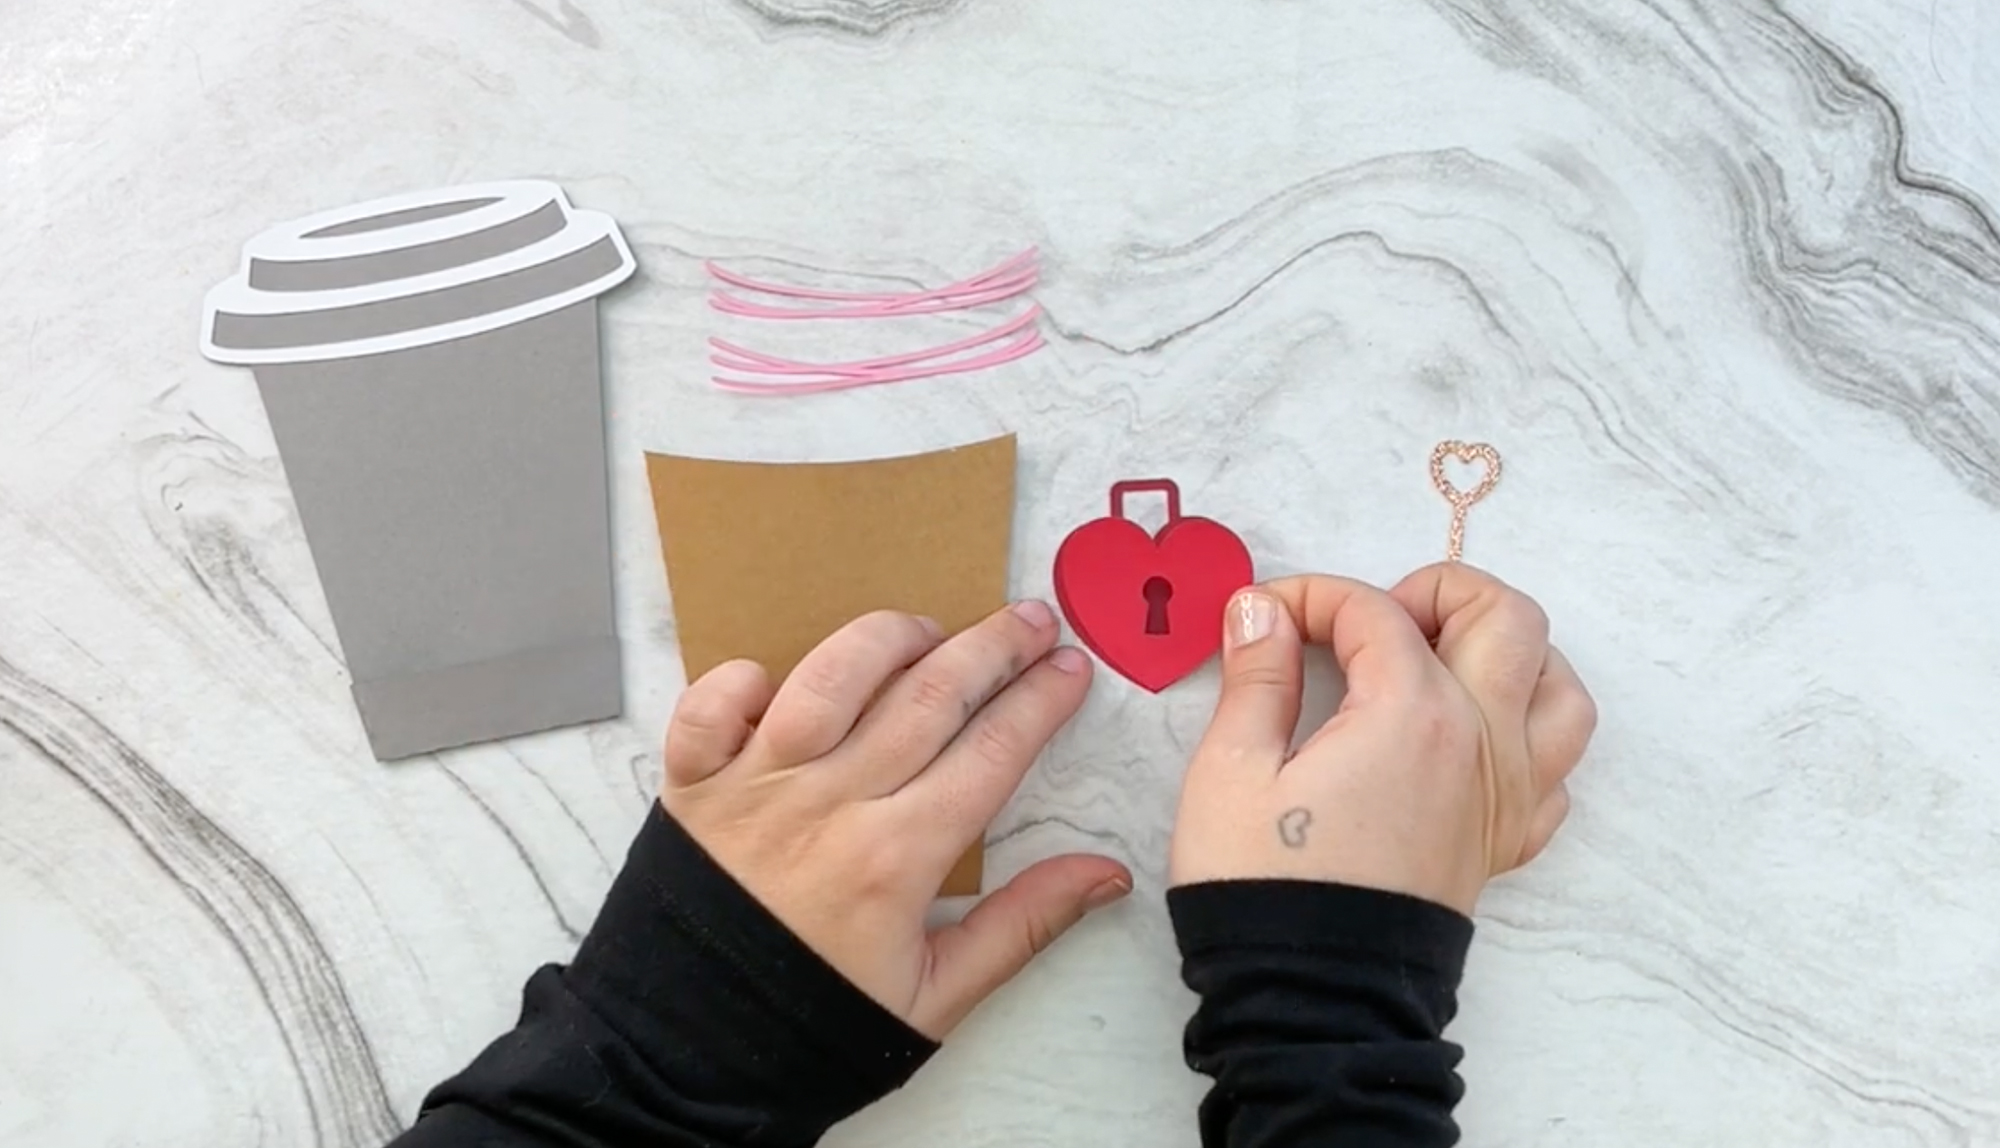
Take the light red layer and glue it on top of the dark red layer to create the lock. Set it aside to dry.
Step 5: Attach the Pink Layers (Side 1)

Glue one of the pink ribbon layers to one side of the coffee cup. Align the edges carefully for a clean finish.
Step 6: Attach the Pink Layers (Side 2)

Take the second pink ribbon layer and glue one half of it to the opposite side of the cup. Leave the other half unattached for now.
Step 7: Add the Lock and Key
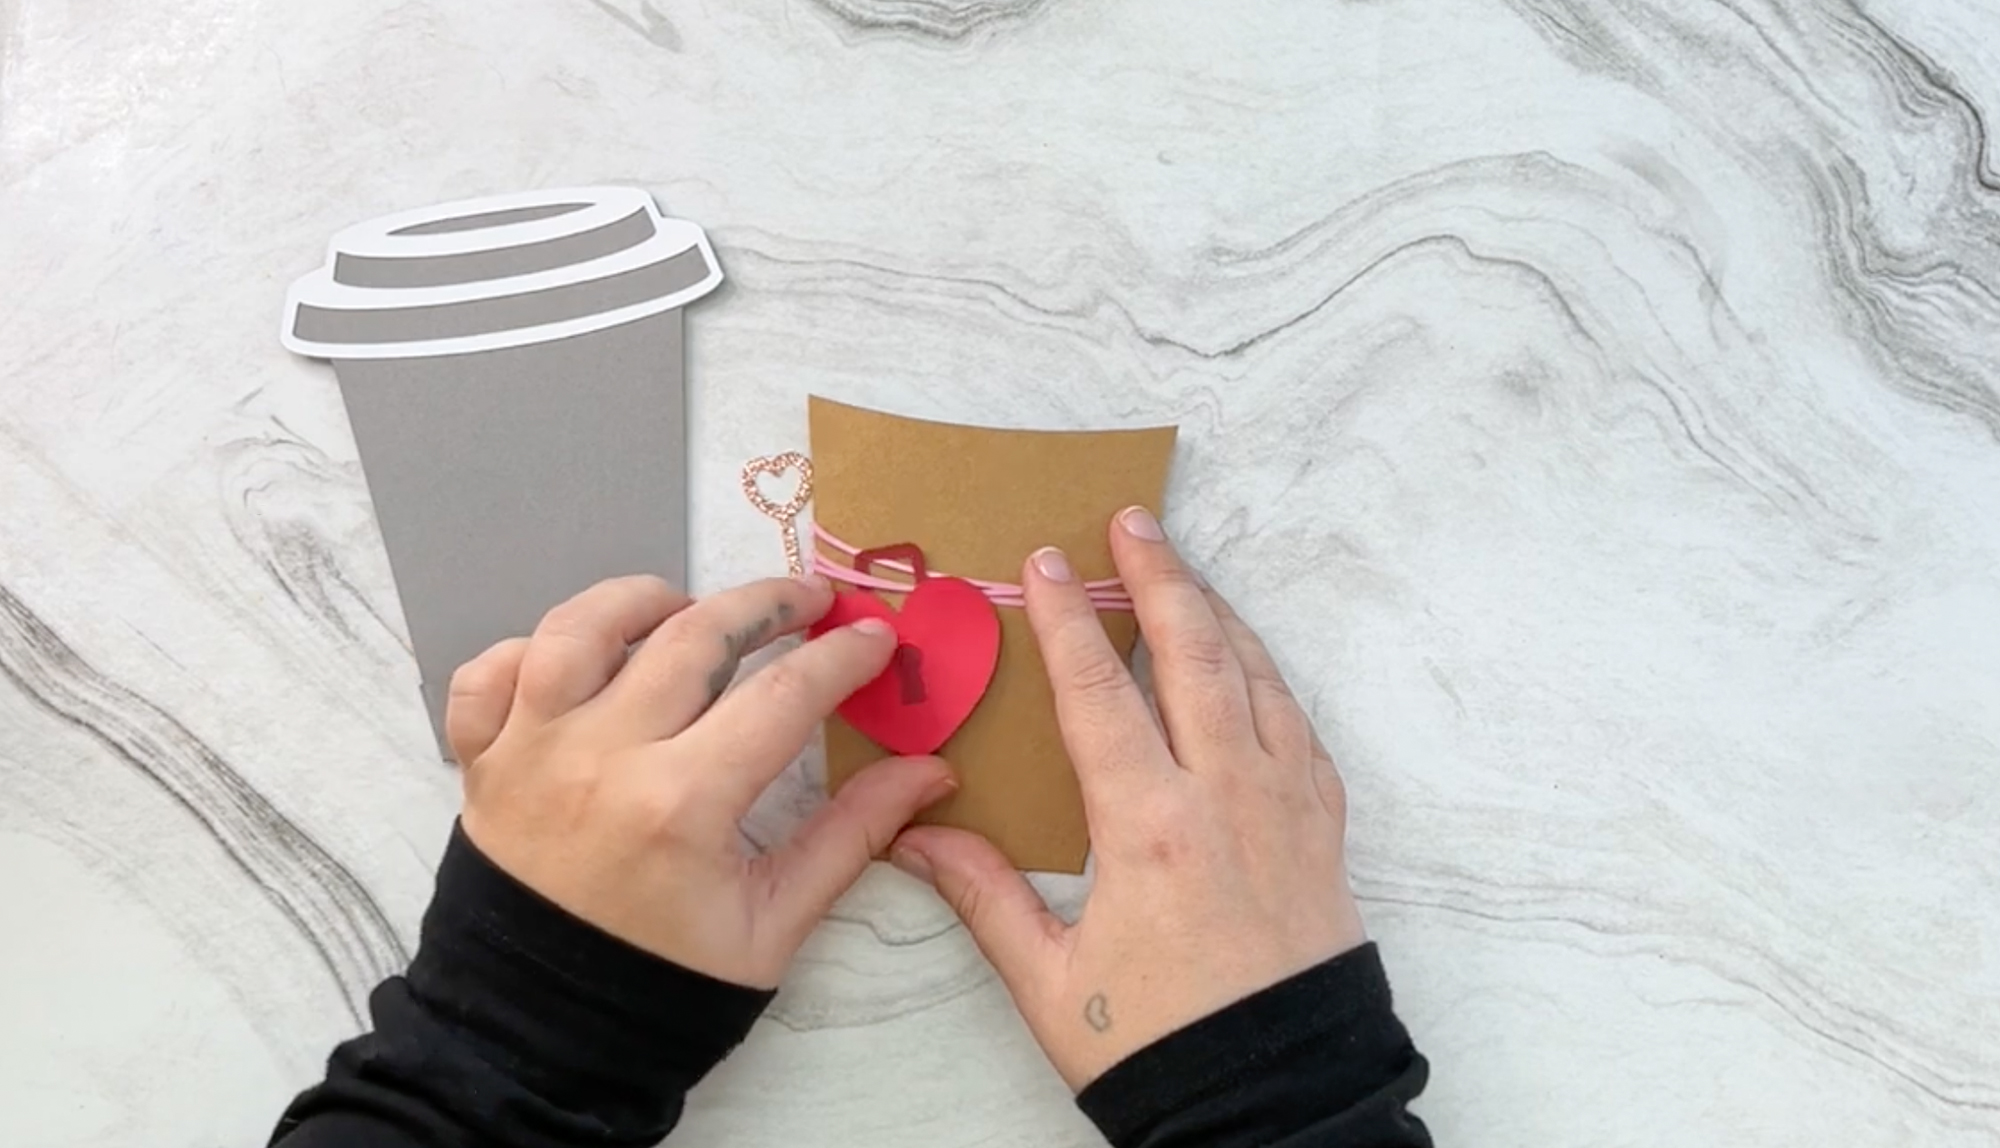
Slide the assembled lock and key onto the pink ribbon layer. Position it in the center for a balanced look.
Step 8: Secure the Pink Ribbon Layer
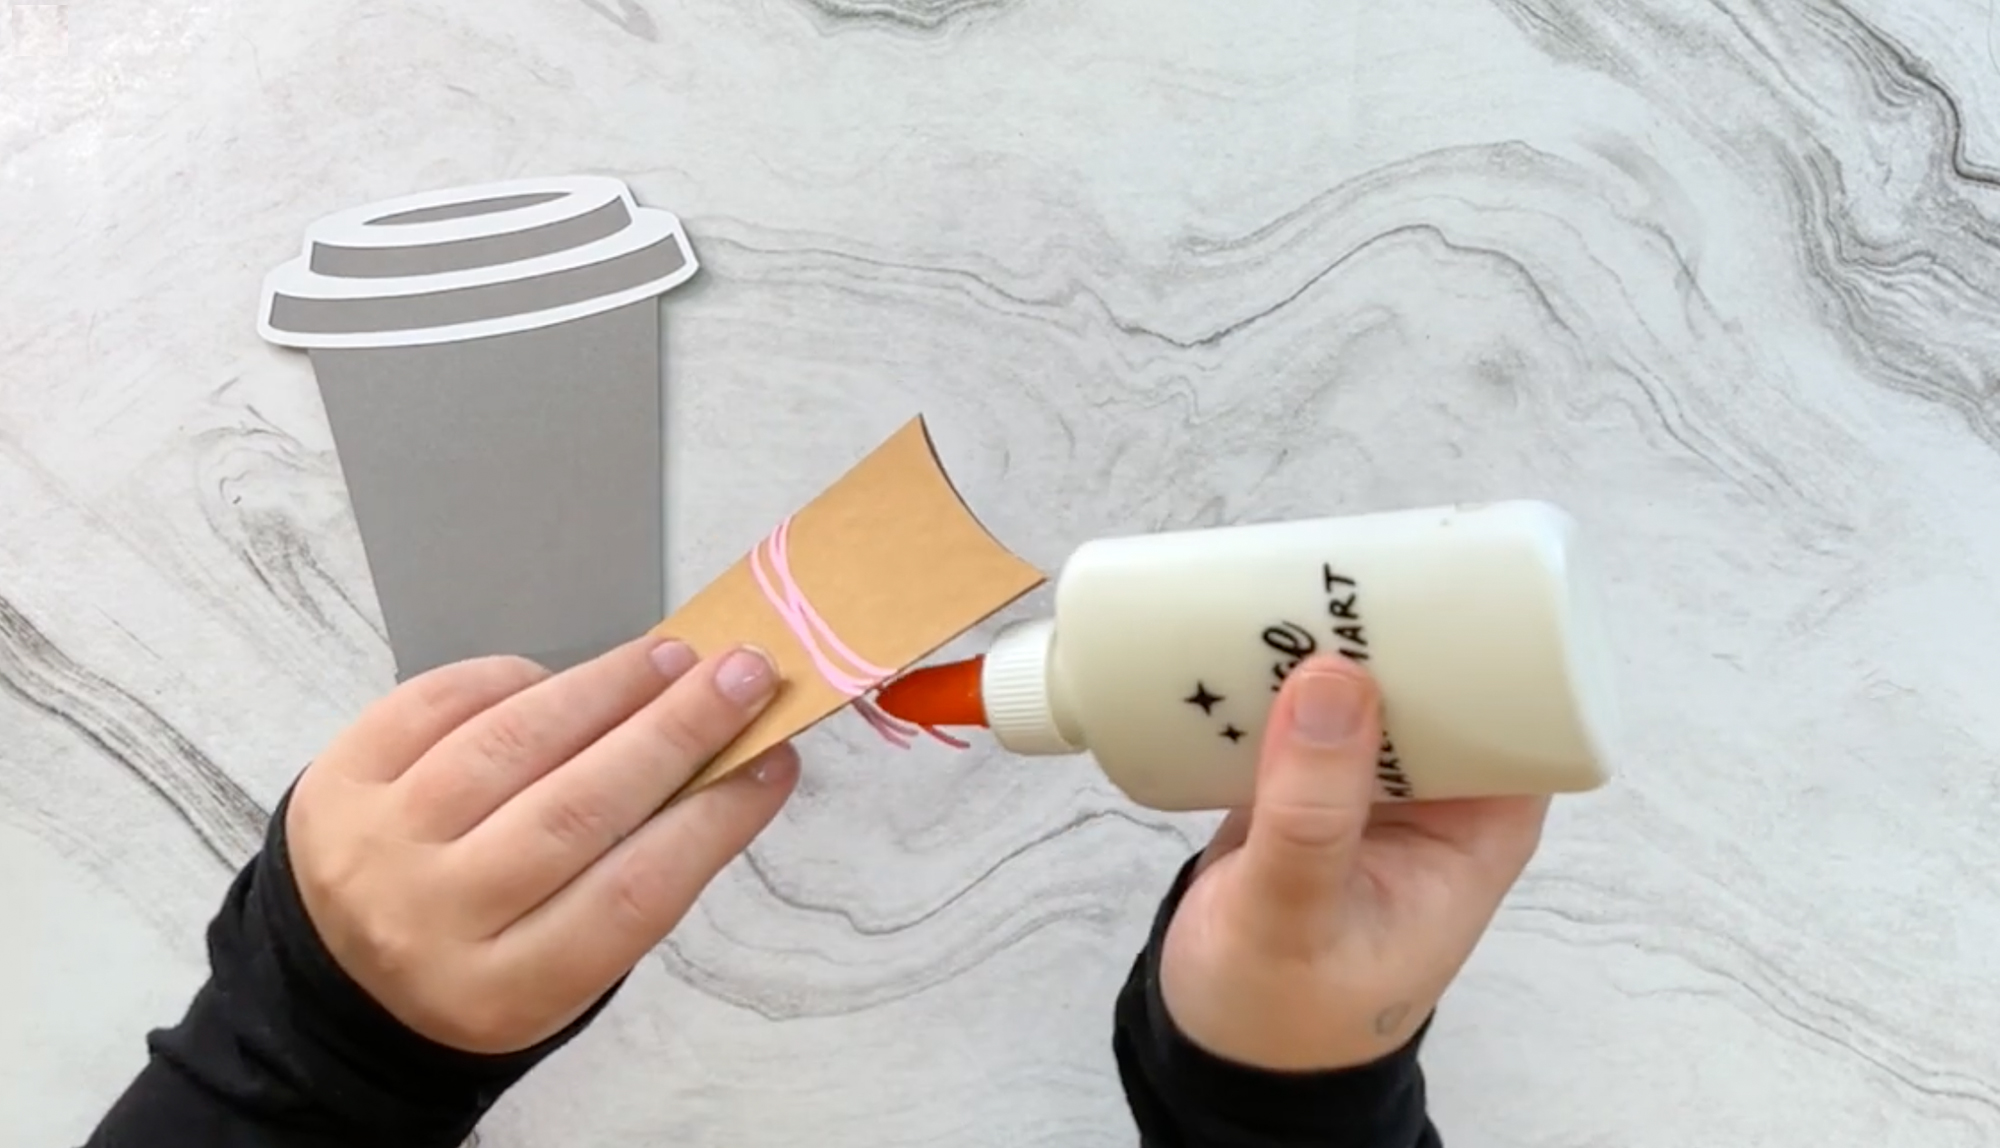
Glue the unattached half of the pink ribbon layer down to the cup, securing the lock and key in place. This prevents it from sliding off.
Step 9: Insert the Gift Card
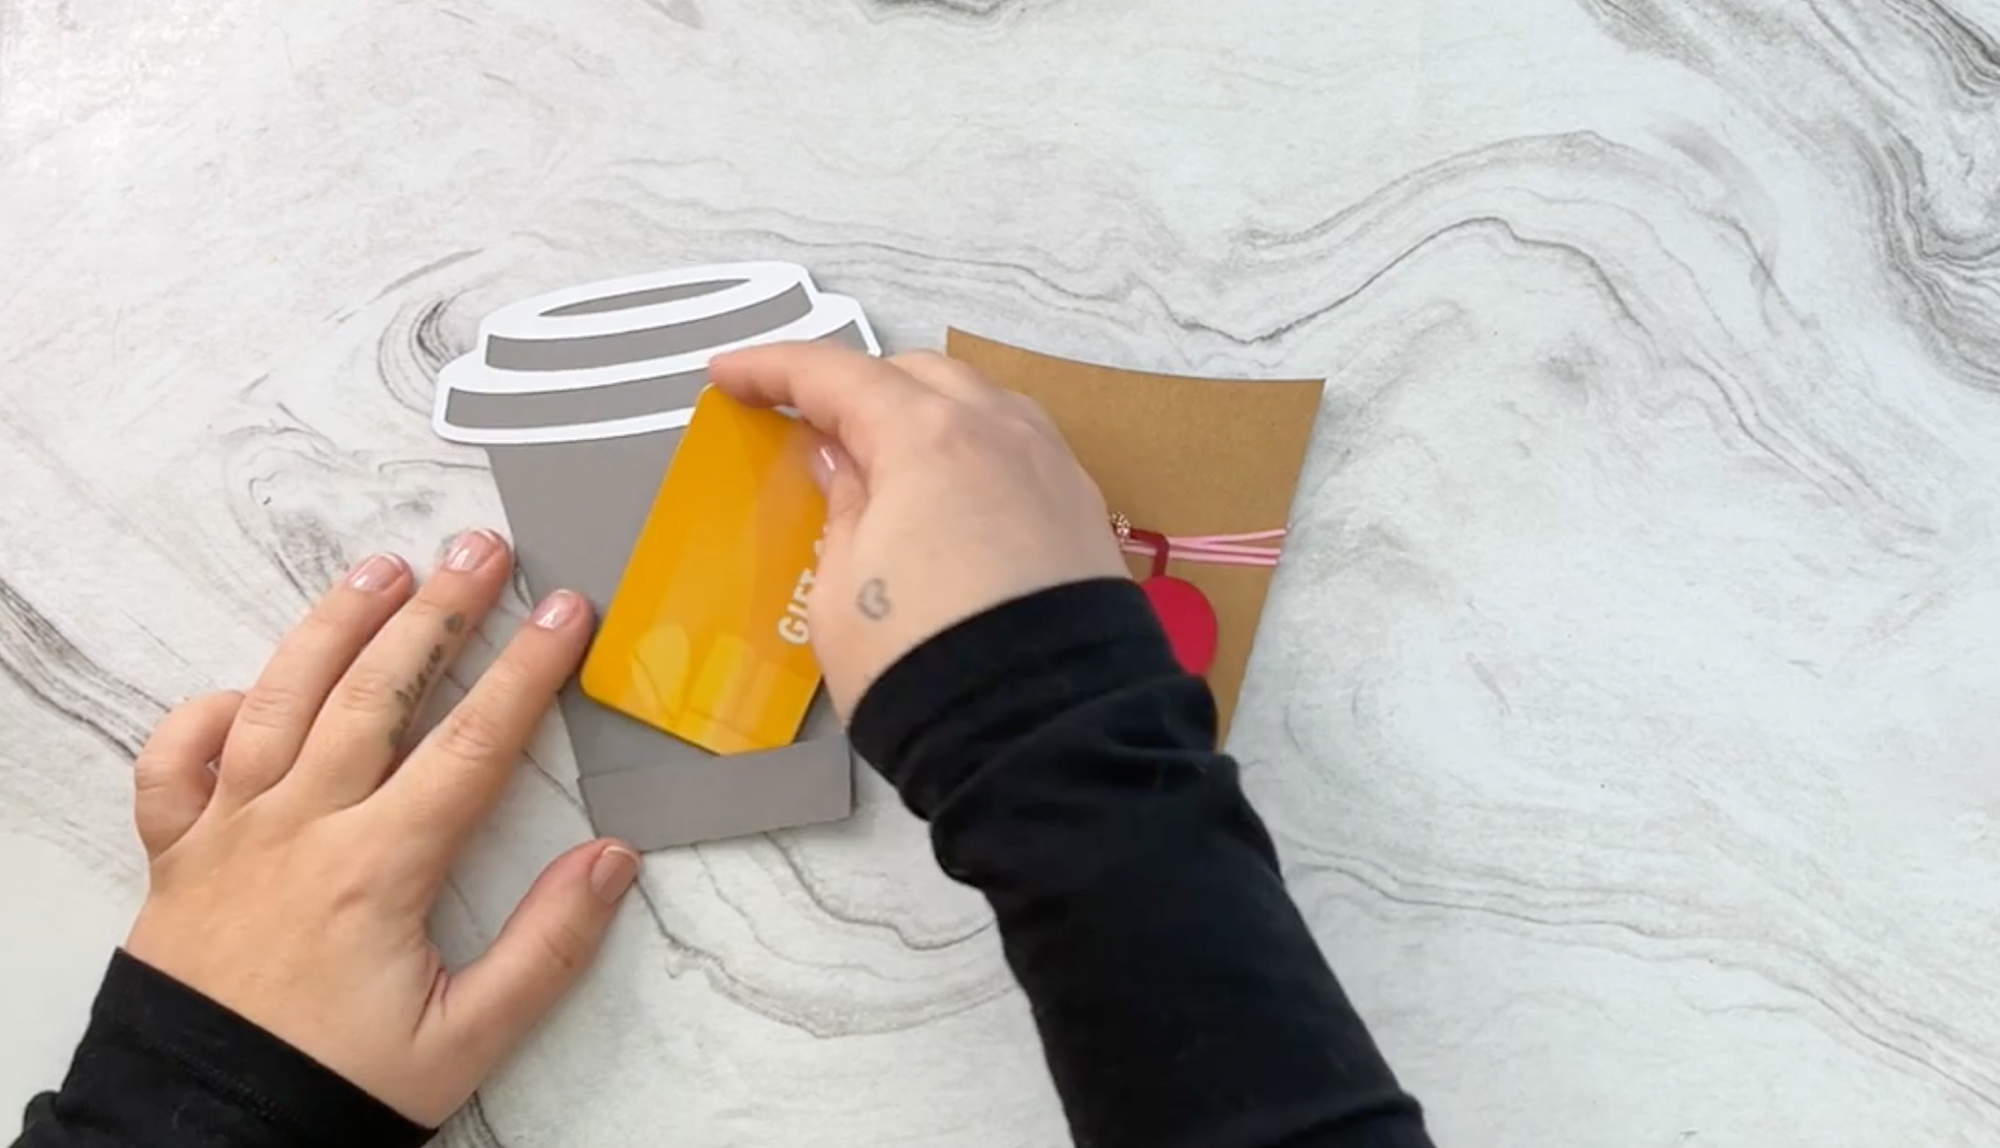
Slide your gift card into the holder, ensuring it fits snugly.
Step 10: Put It All Together

Complete the assembly by sliding the lid base into the top of the coffee cup.
Your coffee cup gift card holder is now ready to impress!
It’s the perfect blend of practicality and creativity, sure to delight any recipient.
Share the Love
We’re always amazed by the creativity our customers bring to these projects. If you’ve crafted something special with our coffee cup gift card holder, we’d love to see it! Share your creations by tagging us on social media or leaving a review in our shop. Your work might even inspire someone else’s next creative project. 💖
Ready to start crafting? Download this free template and explore more designs in our shop. Whether you’re planning ahead or need a last-minute idea, we’ve got you covered with templates designed to make crafting fun, easy, and memorable.